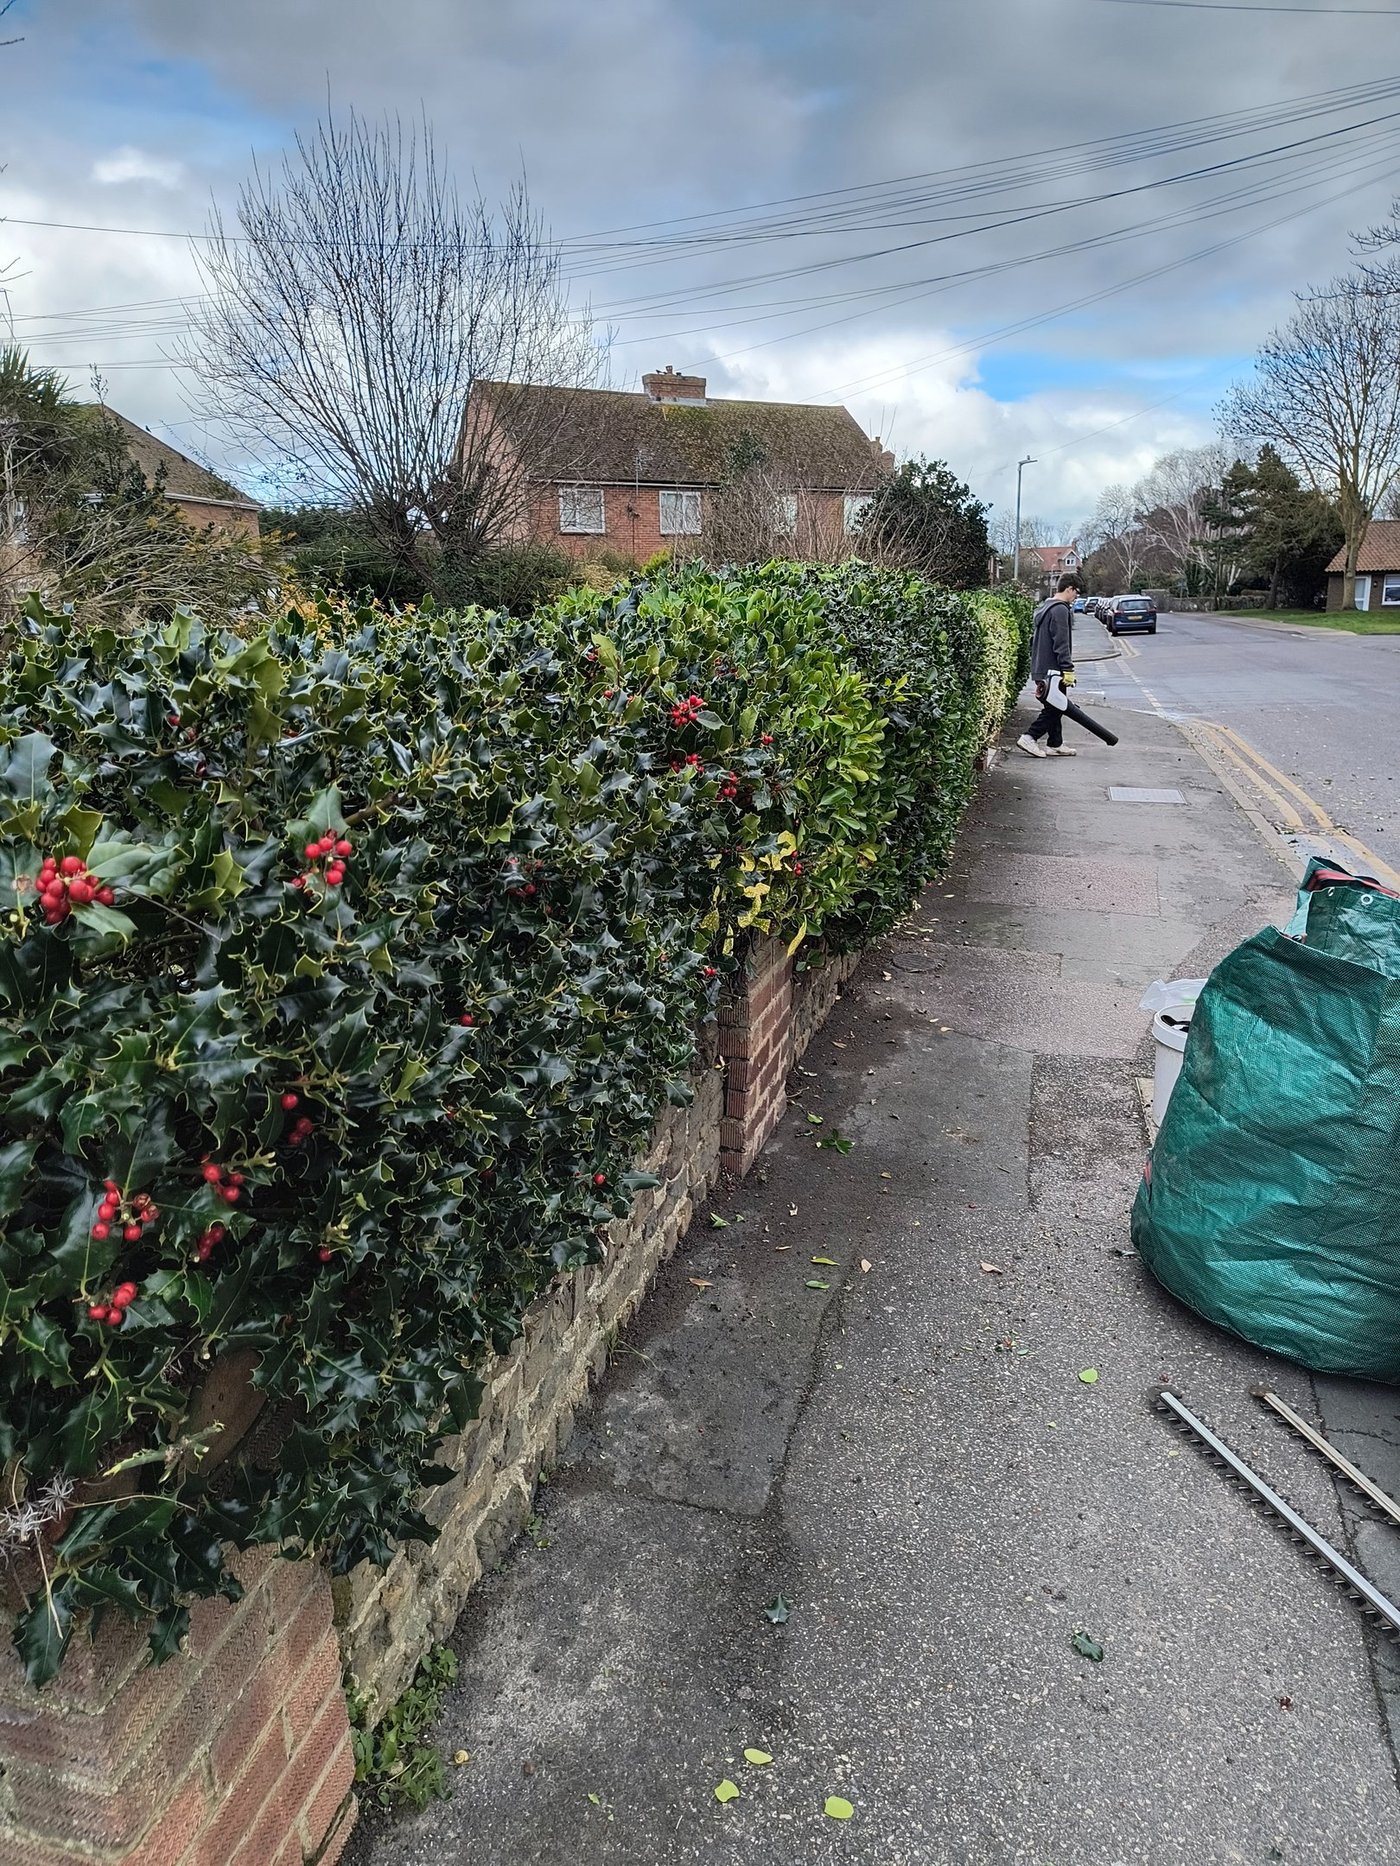
Bare-root hedging is lifted from nursery fields while the plants are dormant, packed without soil, and sold at a fraction of the cost of pot-grown equivalents. A metre of good beech hedge from bare-root whips in December costs significantly less than the same run from container plants in April. The plants establish just as well, often better, because they go into the ground during the cool, moist period when roots can settle in before the first growing season.
The window is October to March. After that, nurseries pot the unsold stock and the price goes up. If you are planning a new hedge line in Sandwich, Deal, Eastry or anywhere else in East Kent, this is the guide to follow.
Before you start: safety and timing
- Gloves: essential for thorny species (hawthorn, blackthorn, pyracantha, berberis). Heavy leather or thornproof gloves, not ordinary gardening gloves.
- Stout boots: you will be using a spade or fork. Proper footwear prevents injuries from a slip off the blade.
- Check for underground services: call 0800 96 93 02 (free, UK) or use the Dial Before You Dig service before digging along any boundary, particularly near buildings. Cable and pipe depth varies and is not always marked.
- Yew toxicity: all parts of yew (Taxus baccata) are toxic to humans and most animals. Wear gloves when handling yew plants and wash hands afterwards. Keep cuttings away from children and pets.
- Planting timing and the law: planting itself is fine year-round, but removing existing ground cover or scrub in spring and summer during nesting season (1 March to 31 August) under the Wildlife and Countryside Act 1981 may disturb nesting birds. Clear the planting strip in autumn or winter, before nesting begins.
Step 1: Choose the right time of year
Bare-root hedging is available from October, when nurseries lift the dormant plants, through to March. The sweet spot in East Kent is November to February. By November the soil has cooled and the plants have dropped their leaves; by February you are still in the window but any later and sap will start to rise and the plant's energy is going into bud-break rather than root establishment.
East Kent's mild coastal winters (the Sandwich and Deal coast rarely sees prolonged frost compared with Canterbury or Maidstone inland) mean the soil stays workable later in the season than in colder counties. This is an advantage: if a cold snap is forecast, you can wait a week and plant once the frost has passed.
Step 2: Prepare the planting strip
A poorly prepared strip is the main reason bare-root hedges fail in the first year. The roots need to find loose, aerated soil from the start.
- Mark out your hedge line with a length of string pulled tight between two canes. Make it dead straight (or deliberately curved, but consistently so) before you start digging.
- Clear all existing vegetation from a strip 60 cm wide along the line. Perennial weeds, couch grass and creeping buttercup are the main culprits in East Kent gardens; spray or dig out rather than just cutting the tops off.
- Dig a trench 30 to 40 cm wide and 30 cm deep. On chalk or flint soils (common around Sandwich and Deal), break up the base of the trench with a fork to help drainage. On the heavier clay soils further inland (Worth, Ash, Eastry), loosen the sides of the trench to avoid creating a glazed pan that traps water.
- Fork well-rotted garden compost or topsoil into the base of the trench at a rate of roughly one bucketful per metre of run. This is not fertilising the plants; it is improving soil structure and moisture retention around the roots in the critical first few months.
Step 3: Receive and soak the plants
Bare-root plants arrive bundled together with the roots wrapped in damp hessian, polythene or bare. As soon as they arrive:
- Open the packaging and check the roots. Healthy bare-root plants have pliable roots (not brittle or shrivelled) and firm stems. Reject any that smell of rot or have blackened, mushy roots.
- If you are planting within 24 hours, stand the roots in a bucket of water for two to six hours before planting. This rehydrates the roots after the journey.
- If you cannot plant within a few days, heel the plants in. Dig a shallow trench in a shaded, sheltered spot, lay the plants in at an angle, cover the roots with soil, and water. They can stay heeled in for several weeks without harm.
Step 4: Mark the planting positions
Most bare-root hedging plants are planted in a single row at spacings of 30 to 45 cm for dense hedges (privet, box, yew) up to 60 cm for larger species (cherry laurel, leylandii). For a native mixed hedge, space whips at 30 to 40 cm apart in a single row, or 30 cm apart in a staggered double row for faster coverage. See our hedge planting spacing guide for species-specific spacings.
Step 5: Plant each whip
- Use a spade to open a V-shaped slot in the prepared trench at each planting position.
- Hold the plant upright in the slot so the soil mark on the stem (usually a slight discolouration at the base) sits at the level of the surrounding soil surface. The roots should hang naturally downwards without being bent or cramped.
- Close the slot by pressing the soil back in firmly with your boot, first on one side, then the other. There should be no air pockets around the roots. Firm the soil at the base well.
- Check the plant is at the right depth by gently tugging upwards. A correctly planted whip requires a firm tug; a loose one will pull straight out.
Step 6: Stake if needed
Most bare-root whips (50 to 90 cm tall) do not need staking if the soil is firmed properly. Larger stock (over 1 m, sometimes supplied as feathered whips) may benefit from a short bamboo cane and soft tie to prevent wind rock in the first season. Remove any stake by the second winter; leaving stakes too long causes the stem to become dependent and weakens the anchor.
Step 7: Water in and mulch
Even in winter, always water in after planting. This settles the soil around the roots and drives out air pockets that firming alone may not have closed.
Apply a 5 to 7 cm layer of bark chip or well-rotted compost along the hedge line, kept 5 cm away from the stems to prevent collar rot. Mulching suppresses weeds and retains moisture through the first spring, which is when newly planted hedges are most vulnerable to drying out as temperatures rise and leaves appear.
Step 8: First-year aftercare
The critical period is the first spring and summer after planting. Once the plants break bud and come into leaf, they are drawing water through roots that have not yet fully established in the new ground. Keep the planting strip weed-free (weeds compete heavily for moisture), and water during any dry spell lasting more than two weeks. East Kent summers can be dry; see our hedge care in summer drought guide for watering priorities.
Do not trim the hedge in the first year. Let the plants grow on and build root mass. In the second or third winter, a formative cut at 15 to 20 cm below the desired final height will encourage bushy branching from low down.
Thompson & Morgan, one of the UK's most established seed and plant companies, cover the bare-root planting process clearly in their video guide, available at How to plant bare root hedging with Thompson & Morgan. Their channel has over 400,000 YouTube subscribers and covers a wide range of UK garden topics.
Rather have us plant it?
We plant hedges as well as trim them, across Sandwich, Deal, Worth, Ash, Woodnesborough, Eastry and Sandwich Bay. Send a photo of your boundary for a free quote.