Quick checklist
Before the detail: here is the full sequence in order. Each item links to the expanded section below.
- Confirm it is outside nesting season (September to February)
- Check for active bird nests even in September
- Identify your species and its pruning needs
- Choose the right tool (shears, secateurs or hedge trimmer)
- Put on PPE before you start
- Remove dead, crossing or diseased branches first
- Make the main cuts to shape and size
- Clear all clippings away from the base
- Water and feed if conditions have been dry
- Note the date for the next cut
The rest of this guide works through each item in turn.
1. Nesting season
Under the Wildlife and Countryside Act 1981, it is an offence to intentionally damage or destroy a nest in active use. Nesting season in the UK runs from 1 March to 31 August. The safe window for pruning hedging shrubs in Kent is September to February. Even in September, inspect the plant before cutting.
The law applies to any plant that could shelter an active nest. An established privet or viburnum can hold a blackbird nest well into August. If you find an occupied nest, put the tools away and come back in late September or October.
2. Check for active nests
A quick visual check takes two minutes. Walk around the shrub and look into the centre from different angles. Watch for adult birds flying in and out of the same spot. If the hedge is dense, use a long stick to gently part the outer growth in a few places before you start cutting. If in doubt, leave it another week.
3. Identify your species
Evergreen hedging shrubs used in East Kent gardens vary considerably in how they respond to pruning.
Privet (Ligustrum ovalifolium)
Very forgiving. Cut up to twice a year: a light trim in late May or early June if nesting allows, then the main cut in late August or September. Privet produces a mass of new growth from cut ends, so it thickens well with regular pruning. It tolerates hard cutting if needed for renovation.
Cherry laurel (Prunus laurocerasus)
Use secateurs, not shears. The large, glossy leaves look dreadful when sliced through by mechanical trimmers. Cut individual stems back to a bud or leaf junction. One cut per year in late August or September is usually enough for an established boundary laurel. Avoid cutting in wet weather as laurel shot-hole fungus spreads in damp conditions.
Photinia (Photinia x fraseri 'Red Robin')
The red new growth is the ornamental value; cutting triggers it. Two cuts work well in Kent: late May (before the red tips fade to green) and late August. Use shears or a hedge trimmer. Photinia is vigorous and responds well to hard cutting if the hedge has spread too wide.
Viburnum tinus
Viburnum tinus flowers in winter if left unpruned. If the flowers matter, cut in April or May immediately after flowering finishes; if you want a tight formal hedge, cut in late August. Do not cut hard into old, bare wood as viburnum tinus does not regenerate reliably from leafless stems.
Holly (Ilex aquifolium)
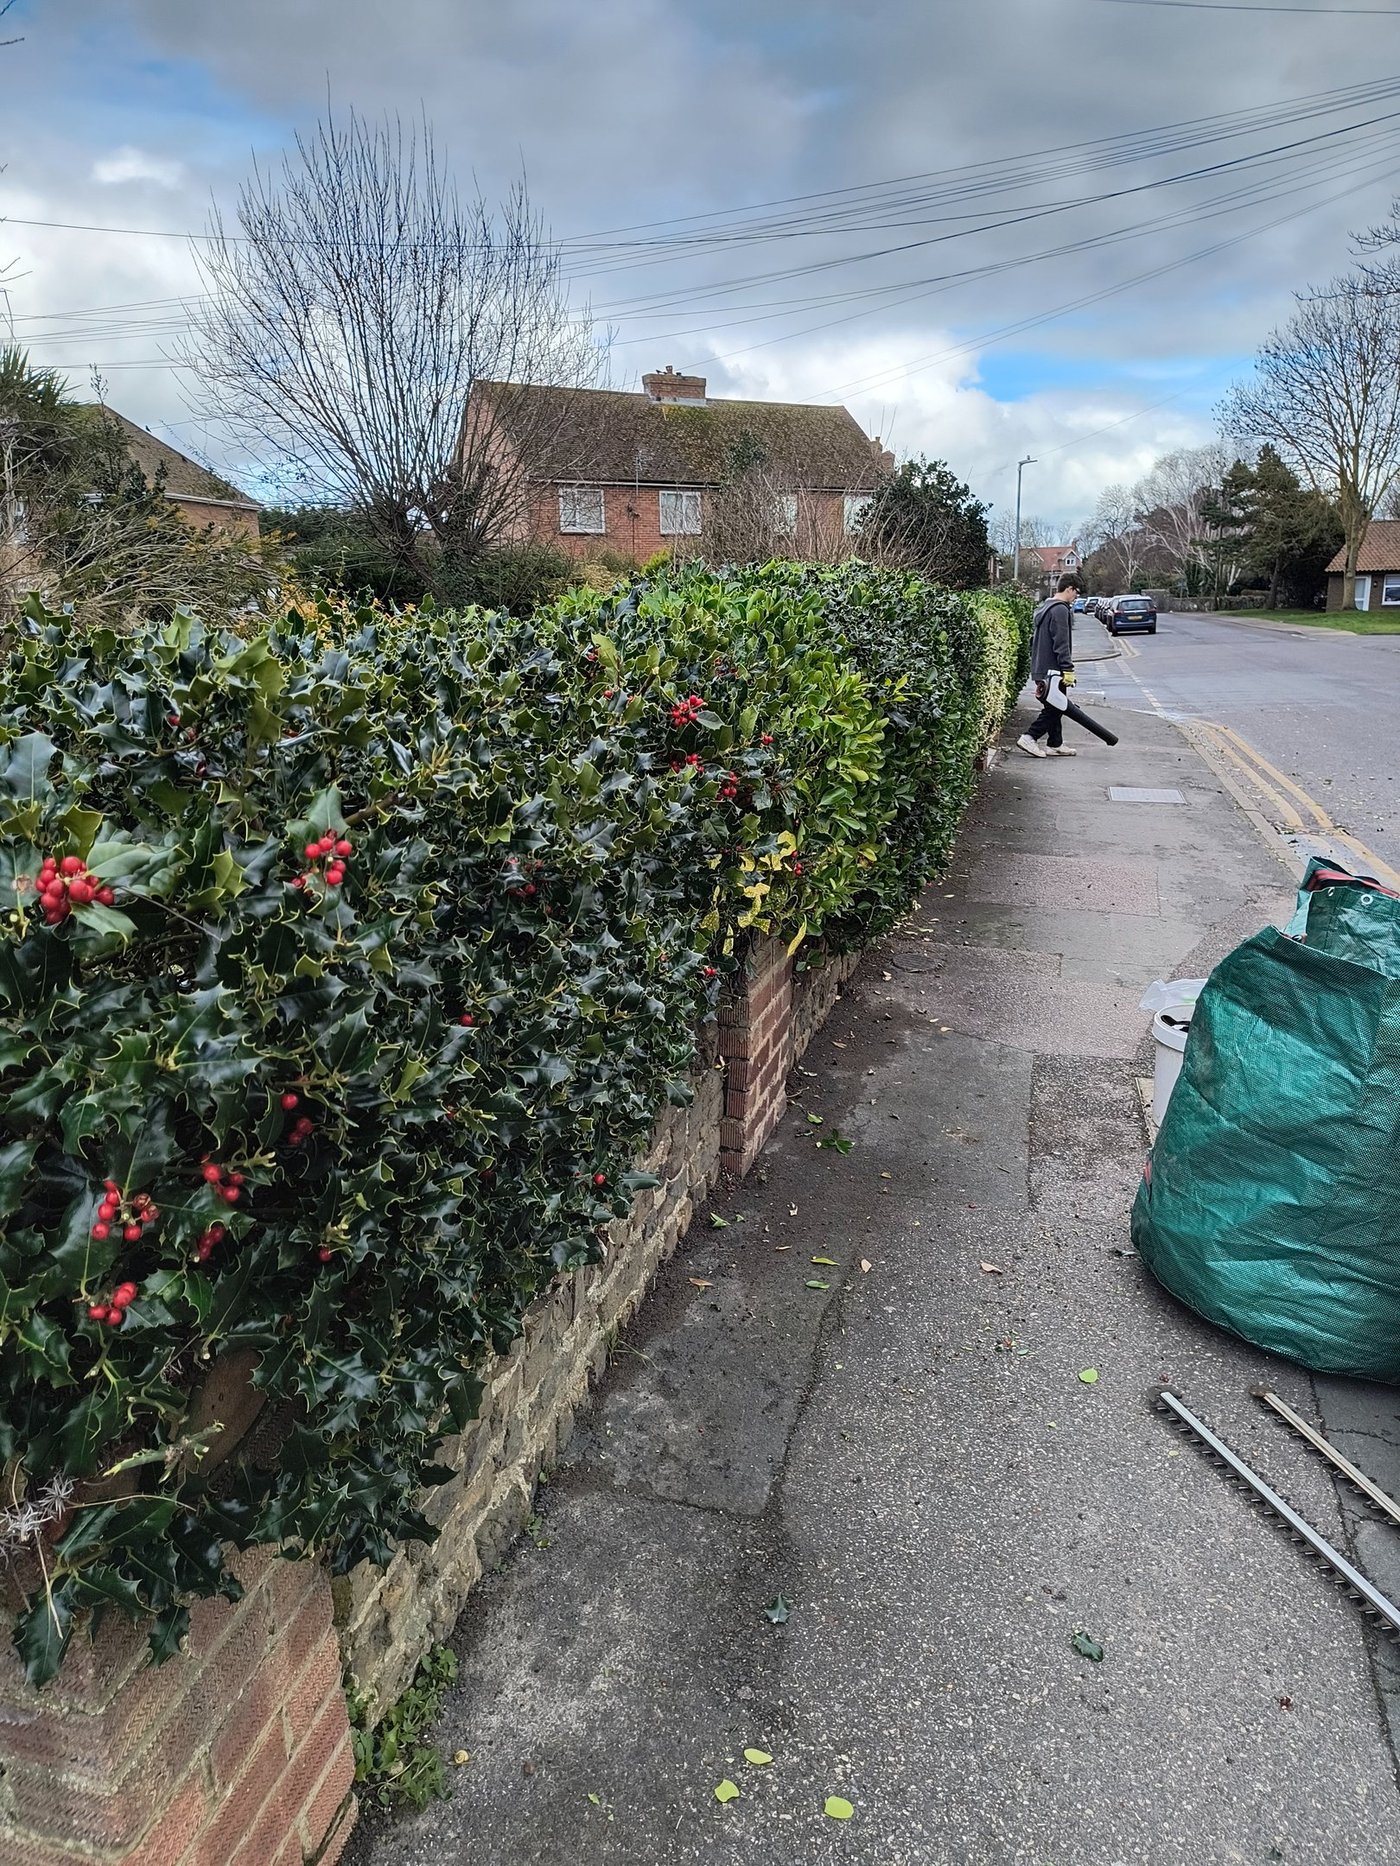
Holly is slow-growing and needs only one cut per year, in late August or early September. Wear thick gloves. Use secateurs on specimen plants; a hedge trimmer is acceptable on a dense formal holly hedge. Holly regenerates from old wood, so it can be cut back hard if needed.
4. Tool choice
The right tool depends on leaf size and the finish you want.
- Hand shears: best for small-leaved shrubs (privet, photinia, box) and for precise shaping work. Quieter and easier to manoeuvre around awkward corners than a machine.
- Electric or battery hedge trimmer: efficient on large runs of privet or photinia. Use a model with a blade guard and keep the cable (if corded) behind you at all times. Check the RCD is plugged in at the socket.
- Bypass secateurs: essential for large-leaved species like laurel and viburnum tinus. Also useful for removing any thick stems (over 12 mm diameter) that shears cannot cut cleanly.
- Loppers: for removing thicker crossing or dead branches inside the canopy.
Always work with clean, sharp blades. Blunt tools crush rather than cut, creating ragged wounds that are slow to heal.
5. PPE
Before you start
- Thick gloves (particularly for holly and laurel)
- Eye protection when using mechanical trimmers
- Closed-toe shoes on any ladder or stepladder
- Hearing protection if using a petrol or loud electric trimmer
- RCD adaptor in place for any corded electric tool
- Check for wasps' nests at the base and in the canopy before reaching in
6. Remove dead, crossing and diseased growth first
Before shaping, use secateurs or loppers to remove:
- Dead or clearly dying stems
- Stems crossing through the centre that are rubbing against others
- Any growth showing signs of disease (discoloured, blackened or spotted stems)
Removing these first opens up the centre slightly, which improves air circulation and reduces conditions that favour fungal disease. It also means the main shaping cut is working only on healthy growth.
7. Make the main shaping cut
Trim the outer surface of the hedge back to just inside last season's cut points. For most established evergreen hedges in Kent, this means removing 10 to 20 cm of new growth. Resist the temptation to take off more: over-cutting weakens the plant and creates a larger patch of bare, brownish cut ends.
Work from the top down on each face. Cut the top face first (this is the most visible from a distance and sets the reference line), then trim the front face, then the back. For a formal hedge, run a taut string line along the top face before you start to keep the cut level.
The rule we follow: take off what grew this year, nothing more. The hedge will be back in the same position by the following September, and it stays denser each time because you are cutting into the young, branching growth rather than the old framework.
8. Clear clippings
Rake or sweep clippings away from the base of the shrub once you have finished. Leaving a thick mat of clippings against the stem traps moisture and creates conditions for basal rot and fungal problems, particularly in laurel and box. Bag them for green waste collection; most evergreen clippings do not compost quickly and are better removed from the garden.
9. Water and feed
If the weather has been dry in the two weeks before or after pruning, give the hedge a thorough soak. Pruning is a stress on the plant. A well-watered root system recovers and puts out new growth much faster than a dry one.
A light dressing of a balanced slow-release fertiliser (fish, blood and bone, or a proprietary hedging fertiliser) applied in September encourages the burst of new growth that fills in the cut surface before winter. Follow the manufacturer's rate and keep it away from the stem base.
10. Note the date for the next cut
Privet: plan a second cut for late May next year if the season allows. Photinia: same. Laurel, holly and viburnum tinus: plan a single cut in late August or September. Yew: late August. Make a note in your phone or on a calendar now, while the job is fresh.
Watching the technique in action
This guide from Pots & Trowels (Martin Fish) demonstrates the secateurs-led approach for evergreen shrubs, which is a good companion to the checklist above for anyone new to this type of pruning.
Rather we just did it?
We look after established hedging shrubs across Sandwich, Deal, Worth, Ash, Woodnesborough, Eastry and Sandwich Bay. Send a photo for a free quote, most hedges booked within the week.
Related guides
When to trim hedges in Kent
A month-by-month cutting calendar covering all major species, with nesting season dates.
Read the guide RestorationPruning an overgrown shrub
How to renovate a shrub that has grown too large or lost its shape, including hard-cutting timelines by species.
Read the guide