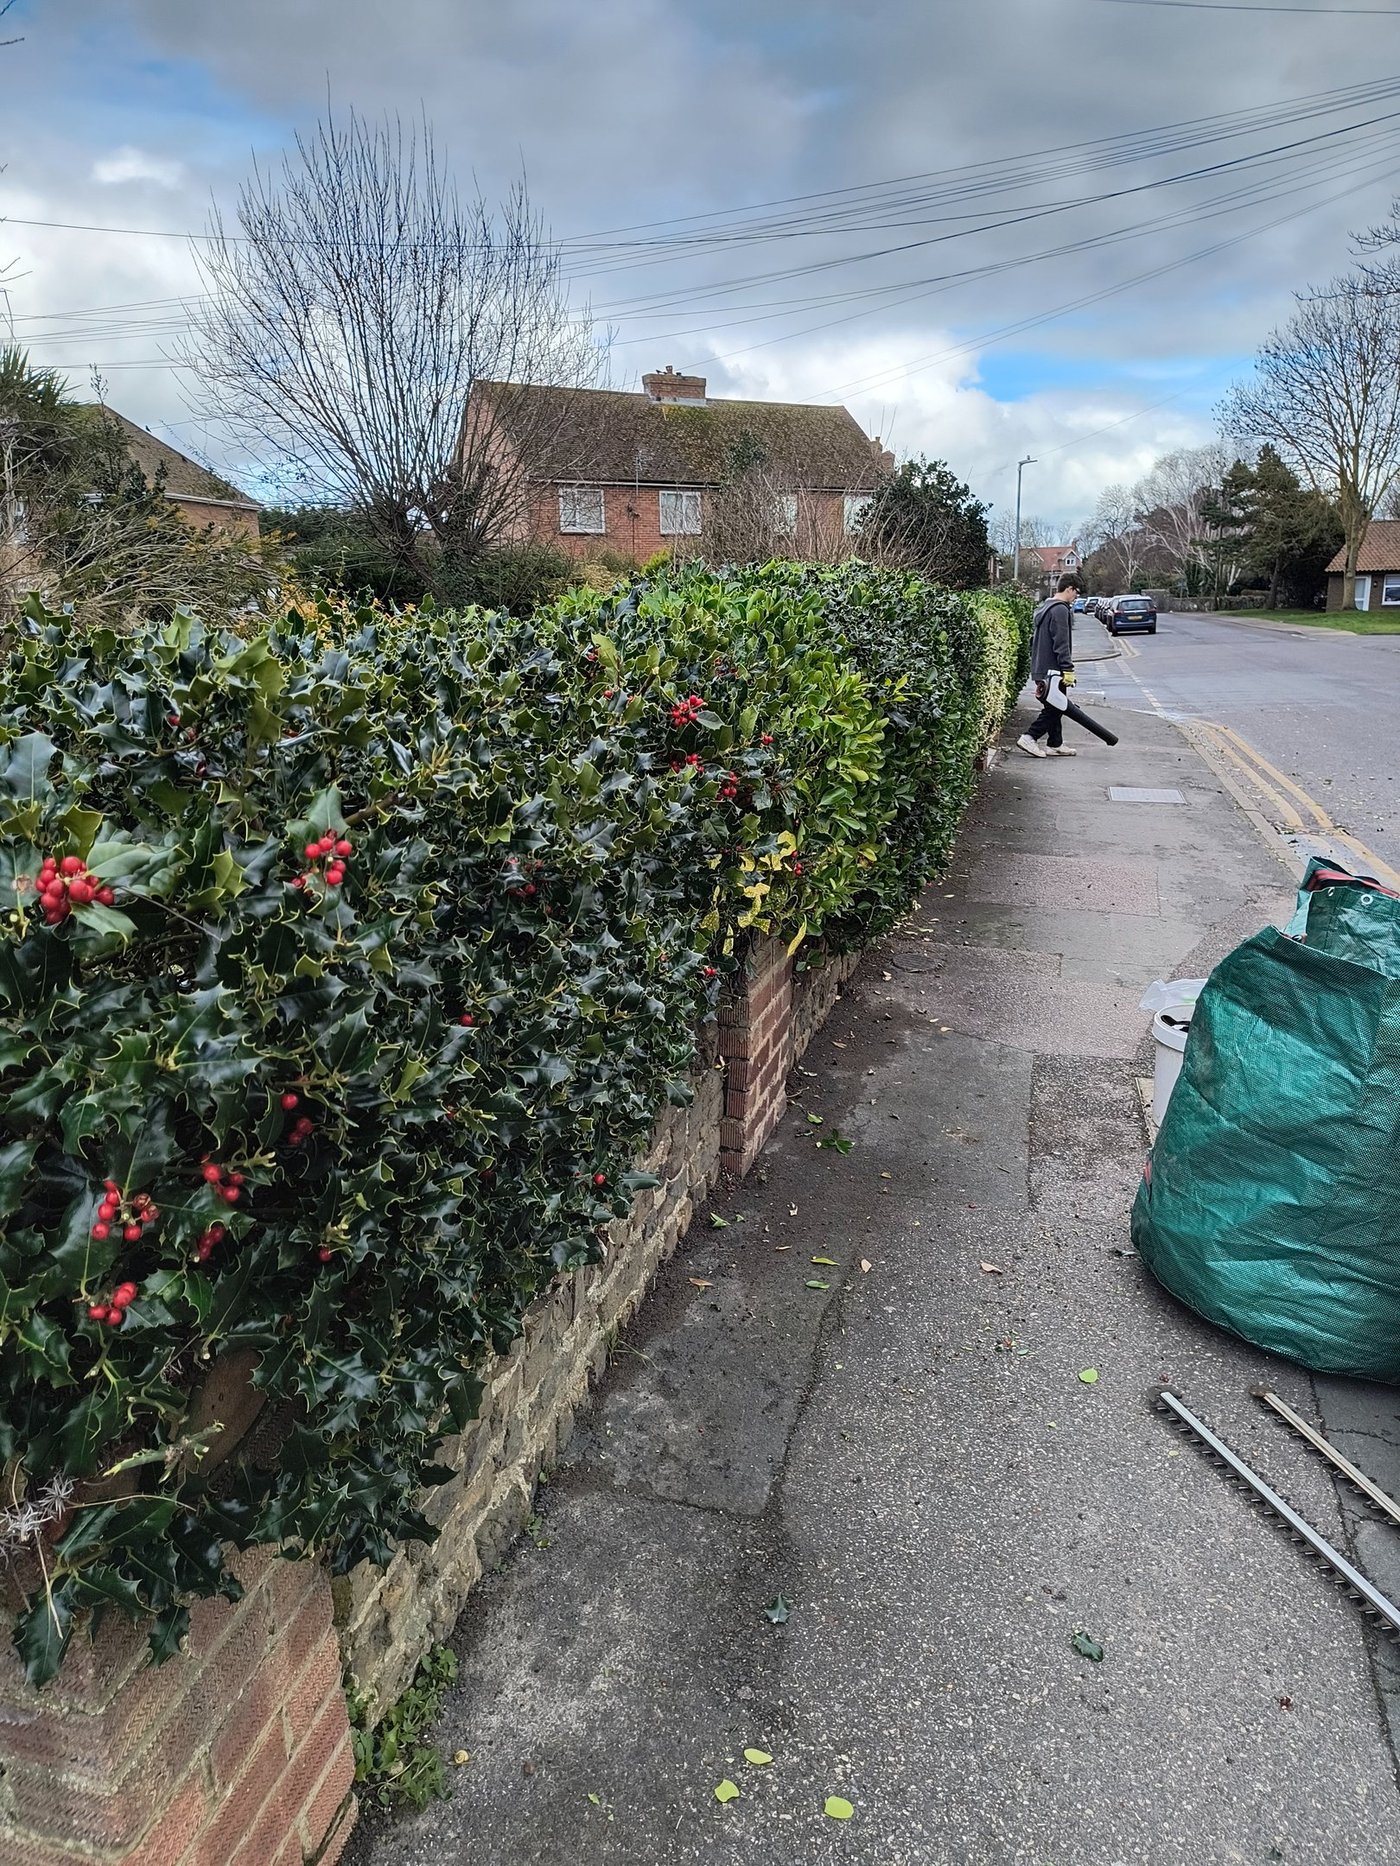
Spring hedge care: quick checklist
- Check for nests before touching the hedge from 1 March onwards
- Feed along the root run in early March (before growth starts)
- Apply mulch, 5 to 7 cm deep, keeping it away from the stems
- Water newly planted hedges as temperatures rise
- Inspect for frost damage and cut out any dead shoots cleanly
- Formative trim on very young, clearly empty hedges (pinching tips only)
- Plan and book late-summer or autumn work now, before the season fills up
The rule that governs spring hedge work
Under the Wildlife and Countryside Act 1981, it is an offence to damage or destroy an active bird's nest. Nesting season runs roughly from 1 March to 31 August. The safe cutting window for most hedges is September to February. From March onwards, any trimming is only acceptable if you can confirm the hedge is empty, and you must check carefully before starting rather than assuming it is fine.
Spring is the season when people notice the hedge again. After a quiet winter, the thing suddenly starts growing and, in an East Kent garden, it can add 30 to 50 cm of new growth between March and June in a good year. The instinct is to cut it. That instinct is usually wrong, because from 1 March the hedge almost certainly has birds thinking about, or already using it, for nesting.
Understanding what you can and cannot do in spring makes the season much less frustrating. The checklist above covers the main jobs. The rest of this guide explains each one.
1. Check for nests before touching the hedge
This is not optional. Walk along both sides of the hedge slowly and look in from different angles. Watch for birds flying in and out of the same point. Listen for alarm calls or excited behaviour when you approach. Blackbirds, robins, dunnocks and sparrows all nest in hedges and will usually betray the nest's location if you watch patiently for a few minutes.
Wrens will sometimes build a nest in an extremely dense section of privet or lonicera and give very little away. If there is any doubt at all, leave the hedge alone until September.
The key point is that you need to check this from scratch each time you visit the hedge between March and August. A hedge that was empty on 5 March may have a nest in it by 15 March. The check takes five minutes and may save you a significant fine.
2. Feed along the root run in early March
March, before the main growth flush starts, is the best time to apply a slow-release granular fertiliser along the root run of an established hedge. Something balanced, like a general-purpose 7-7-7 or similar NPK ratio, is more useful than a nitrogen-only product: hedges need potassium for strong cell walls and phosphorus for healthy roots as well as nitrogen for top growth.
Scatter the granules along a strip roughly 30 cm out from the base of the hedge on each side (hedge roots extend much further than most people realise) and water in if rain is not forecast. Our guide to feeding hedges covers rates and timing in more detail.
3. Apply a mulch
A layer of well-rotted bark chip, garden compost or wood chip 5 to 7 cm deep along the root run helps retain the moisture that new spring growth needs. East Kent is one of the drier parts of England, so spring dry spells are not uncommon, and a new season's growth on an unwatered hedge will be significantly shorter than it could be.
Keep the mulch 10 cm clear of the hedge stems to avoid encouraging stem rot. Lay it on top of the fertiliser you applied in step 2.
4. Water newly planted hedges as temperatures rise
A hedge planted in the previous bare-root season (October to March) will be starting to put out its first genuine growth in April and May. This is its most vulnerable period. The root system has not yet established into the surrounding soil, and if the ground dries out significantly in a warm spell, the new growth wilts and the plant may set back by a full season.
For newly planted hedges in their first spring: water deeply once a week in dry weather rather than lightly every day. A slow, deep watering that reaches 20 to 30 cm down is far more useful than a surface sprinkle. If you cannot water reliably, a thick mulch is the next best protection.
5. Inspect for frost damage and remove dead growth
Even in Kent's relatively mild winters, a sharp late frost in February or early March can catch newly emerging shoots on evergreen hedges like laurel, photinia and escallonia. The tips go black and limp, then crisp up and stay as dead growth on the hedge for the season unless you remove them.
On established hedges, the damage is cosmetic rather than serious: the hedge will grow over the affected area by early summer. But dead growth left in place can trap moisture and encourage fungal problems, particularly in hedges that are already dense. Use sharp secateurs to cut the dead tips back to healthy green material. Do this in March, once the risk of further frost has passed.
6. Formative trimming on young hedges
If you planted a hedge in the previous autumn or winter and it is now in its first or second spring, very light formative trimming, pinching back the tips of the most vigorous shoots by 10 to 20%, encourages lateral branching and a denser structure at the base. This is not a full haircut: it is more like a directional suggestion to the plant.
Only do this if the hedge is clearly empty of nests. A young, sparsely planted hedge is far easier to check than a dense established one: you can see right through it. If there are any birds present, wait.
Garden designer and horticulturist Lee Burkhill, known as Garden Ninja (75,600 subscribers on YouTube), covers the technique side of formative trimming well in his video How to trim hedges: the ultimate guide for perfect garden hedges. The angle and method of cut matters even on a light tip, and his guide on working systematically from one end is useful for avoiding the patchy result you get from going at it randomly.
7. Plan your late-summer and autumn work
Spring is when the season fills up. If you want your hedge cut in September or October, which is the peak window for most Kent gardens, getting in touch with a local contractor in March or April rather than August means you actually get a slot. The same applies if you are planning renovation work on a deciduous hedge later in the year: renovation cuts on beech and hornbeam are best done when the hedge is dormant, so December through February, but planning what you want done is a spring task.
If your hedge is approaching the point where it needs significant reduction rather than routine trimming, our guide to reducing an oversized hedge covers how much you can safely take off and when.
If in doubt about the law
The Wildlife and Countryside Act 1981 is the relevant legislation. Our guide to wildlife-friendly hedge trimming covers the practical and legal detail in full, including what counts as a nest in active use and what the penalties are. This is one area where it is genuinely worth taking ten minutes to understand before picking up the trimmer.
Booking a summer or autumn cut?
We cover Sandwich, Deal, Worth, Ash, Woodnesborough, Eastry and Sandwich Bay and get busy from August. Get in touch in spring to hold a slot for the main cutting season, or just to ask what we would do with your particular hedge.
Related guides
Wildlife-friendly hedge trimming
Nesting birds, hibernating hedgehogs and the law that protects them. When to cut, and when to wait.
Read the guide TimingWhen to trim hedges in Kent
The full month-by-month calendar from January to December, with the nesting dates that govern the whole year.
Read the guide