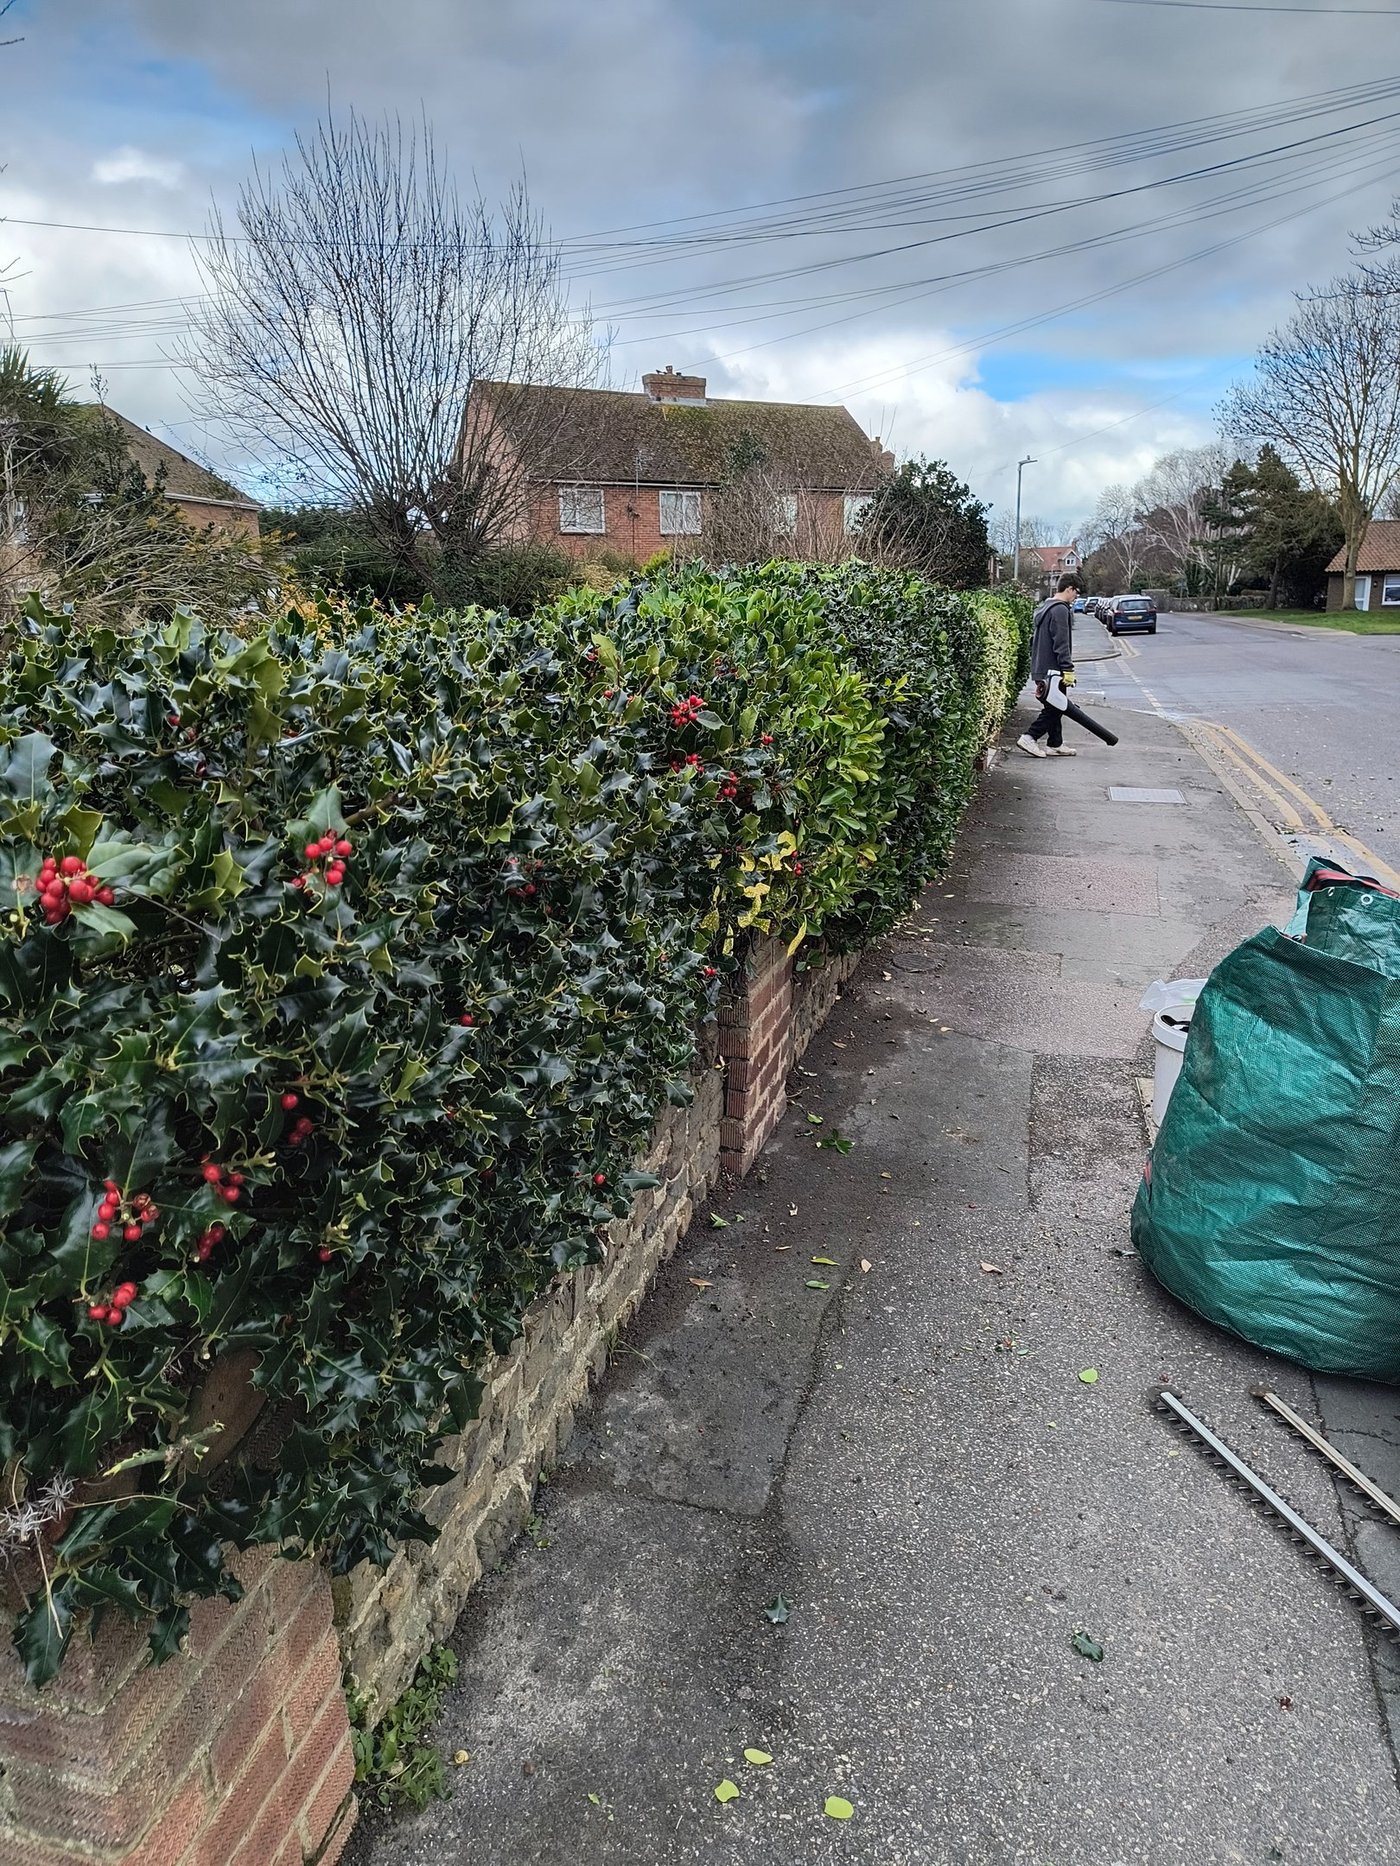
David Domoney, TV presenter and horticulturalist with 342K YouTube subscribers, covers the cutting technique and tool approach in his video "How to make pruning hedges easier" (youtube.com/watch?v=HQ5JF-dwK-Q). The angle and depth of the cut matter far more than most people realise, which is also the theme of what follows.
A thin or open hedge is almost always a maintenance issue rather than a species problem. Privet, beech, laurel, hornbeam and hawthorn, the hedges most commonly described to us as "thin" on properties in Sandwich, Deal and the surrounding villages, are all capable of producing a very dense screen with the right approach. Here are the five things that make the most difference.
Quick checklist
- Cut with a proper A-shape profile: wider at the base, narrower at the top
- Cut harder, not just the same line: stimulate growth with a genuine reduction every few years
- Feed in March with a balanced fertiliser, especially on chalk soils
- Mulch the base (10 cm of bark mulch, kept back from the stems)
- Fill genuine gaps with new plants, same species, planted in autumn
Technique 1: get the cutting profile right
This is the single most effective change most people can make. A hedge cut with vertical sides looks neat to the eye but gradually loses density at the base over years. The reason is simple: the wide top shades the lower foliage, which weakens and eventually dies.
The correct profile is an A-shape: the base should be slightly wider than the top. Even a modest taper of 5 to 10 cm per metre of height makes a meaningful difference. Sunlight reaches the lower branches, they stay healthy, and the hedge fills out from the ground up rather than becoming a top-heavy screen on bare legs.
For a hedge that has already developed the bare-legged look, a single year of corrective cutting will not restore it. The lower wood is dormant rather than dead on most broadleaved species, but it needs several seasons of good light to push new growth. Adopt the A-profile consistently and be patient.
Technique 2: cut harder, not just the same line
If you trim to the same line year after year, the hedge gradually moves outward as the new growth extends beyond the cut point and the next cut takes that slightly further out. After a decade, a privet hedge that started at 40 cm wide can be 80 cm wide, all of it new outer growth, with an increasingly bare interior.
Every three to four years, cut back to a genuine reduction: take 10 to 15 cm more than the usual trim. This forces the hedge to push new growth from older wood inside the outer shell, which increases density. On privet and laurel, where the interior often becomes quite open, a harder cut in August or September can produce noticeably denser growth by the following spring.
Nesting season applies here too
Any cut that goes significantly into the hedge interior, not just a light trim of the outer surface, risks disturbing nesting birds if done between 1 March and 31 August. A hard renovation or density-improving cut is best done in late August, September or October, after the nesting season has ended but before the hedge goes fully dormant. The same Wildlife and Countryside Act 1981 rules that apply to hedge removal apply to any work that damages an active nest.
Technique 3: feed in early spring
Hedges are hungry plants, particularly established ones with large root systems competing with garden plants around them. A balanced slow-release fertiliser applied in March or April, as growth is starting, makes a measurable difference in foliage density over the growing season.
On the chalk soils that are widespread across East Kent, around Sandwich, Ash, Eastry and Woodnesborough, hedges often show magnesium deficiency: yellowing between the leaf veins, or generally pale foliage that fails to reach the deep green of a healthy hedge. A fertiliser containing magnesium, or a separate application of Epsom salts (magnesium sulphate) dissolved in water, addresses this directly. It will not cause a dramatic overnight transformation, but over two or three seasons the difference is clear.
Avoid applying a high-nitrogen feed in late summer or autumn. It pushes soft, fast growth that is vulnerable to frost and does not contribute to the tight, dense structure you are after.
Technique 4: mulch the base
A 10 cm layer of bark mulch along the base of the hedge, kept clear of the stems themselves by about 15 cm, does several things at once. It retains moisture around the roots, suppresses weeds that compete with the hedge, moderates soil temperature, and gradually improves soil structure as it breaks down.
On the sandy, free-draining soils found near the Sandwich Bay and Deal coastline, where dry summers stress hedges considerably, mulching makes a genuine difference to growth rate and foliage density. Apply it fresh each autumn. For a 10-metre run of hedge, a standard builders' bag of bark mulch is about the right quantity.
One thing to avoid: banking the mulch against the stems. Mulch piled against stems traps moisture against the bark and encourages collar rot, particularly on leylandii, laurel and privet.
Technique 5: fill gaps with new plants
Some thin patches are not a management problem at all, they are genuine gaps where a plant died or was never thick enough. No amount of feeding or profile adjustment will fill a 50 cm hole in the hedge line; only a new plant will do that.
Plant the same species (or a very closely related one) into the gap in autumn or winter. Bare-root whips are the most economical option and establish quickly when planted between October and March. For a gap up to about 60 cm wide, a single whip planted centrally is usually enough. For a wider gap, use two plants.
After planting the new whip, cut back the neighbouring plants on either side of the gap to encourage them to grow inward. If you leave them untouched, they will continue to grow outward and the new plant will be crowded rather than supported by them.
On leylandii, a word of warning: leylandii cannot regenerate from the bare brown wood that is exposed around a gap. The new plant needs to be brought to a height where it is growing in the green zone before it can be trained outward. This takes two to three seasons. See our leylandii guide for the detail.
What does not work
A few things are commonly suggested that make little practical difference.
Watering in dry weather helps in the short term during establishment of new plants, but does not thicken an established hedge unless the hedge is genuinely drought-stressed (chalky or sandy soils in a dry summer). A healthy established hedge has deep enough roots to manage most Kent summers without extra watering.
Using a different fertiliser does not change much if the cutting profile and mulching are wrong. The nutrient supply is rarely the limiting factor for an established hedge.
Cutting more frequently can help (more frequent cuts = more branching), but only if the profile and depth are also right. A hedge trimmed four times a year to a vertical face will not get thicker, just more neatly thin.
In most cases, adopting an A-profile and cutting a little harder in year one will produce more visible improvement than all the feeding and mulching in the world. Get the cut right first.
Want someone else to sort it?
We work with thin and open hedges regularly across Sandwich, Deal, Worth, Ash, Woodnesborough, Eastry and Sandwich Bay. Send us a photo and we will tell you honestly whether the hedge needs a different cutting approach, infilling, or a full renovation.
Related guides
Recovering an over-cut hedge
If the hedge was cut too hard and is now sparse: the recovery checklist and realistic timelines by species.
Read the guide RestorationRenovating a neglected hedge
When the hedge has been left for years and is now oversized: a season-by-season approach to bringing it back.
Read the guide