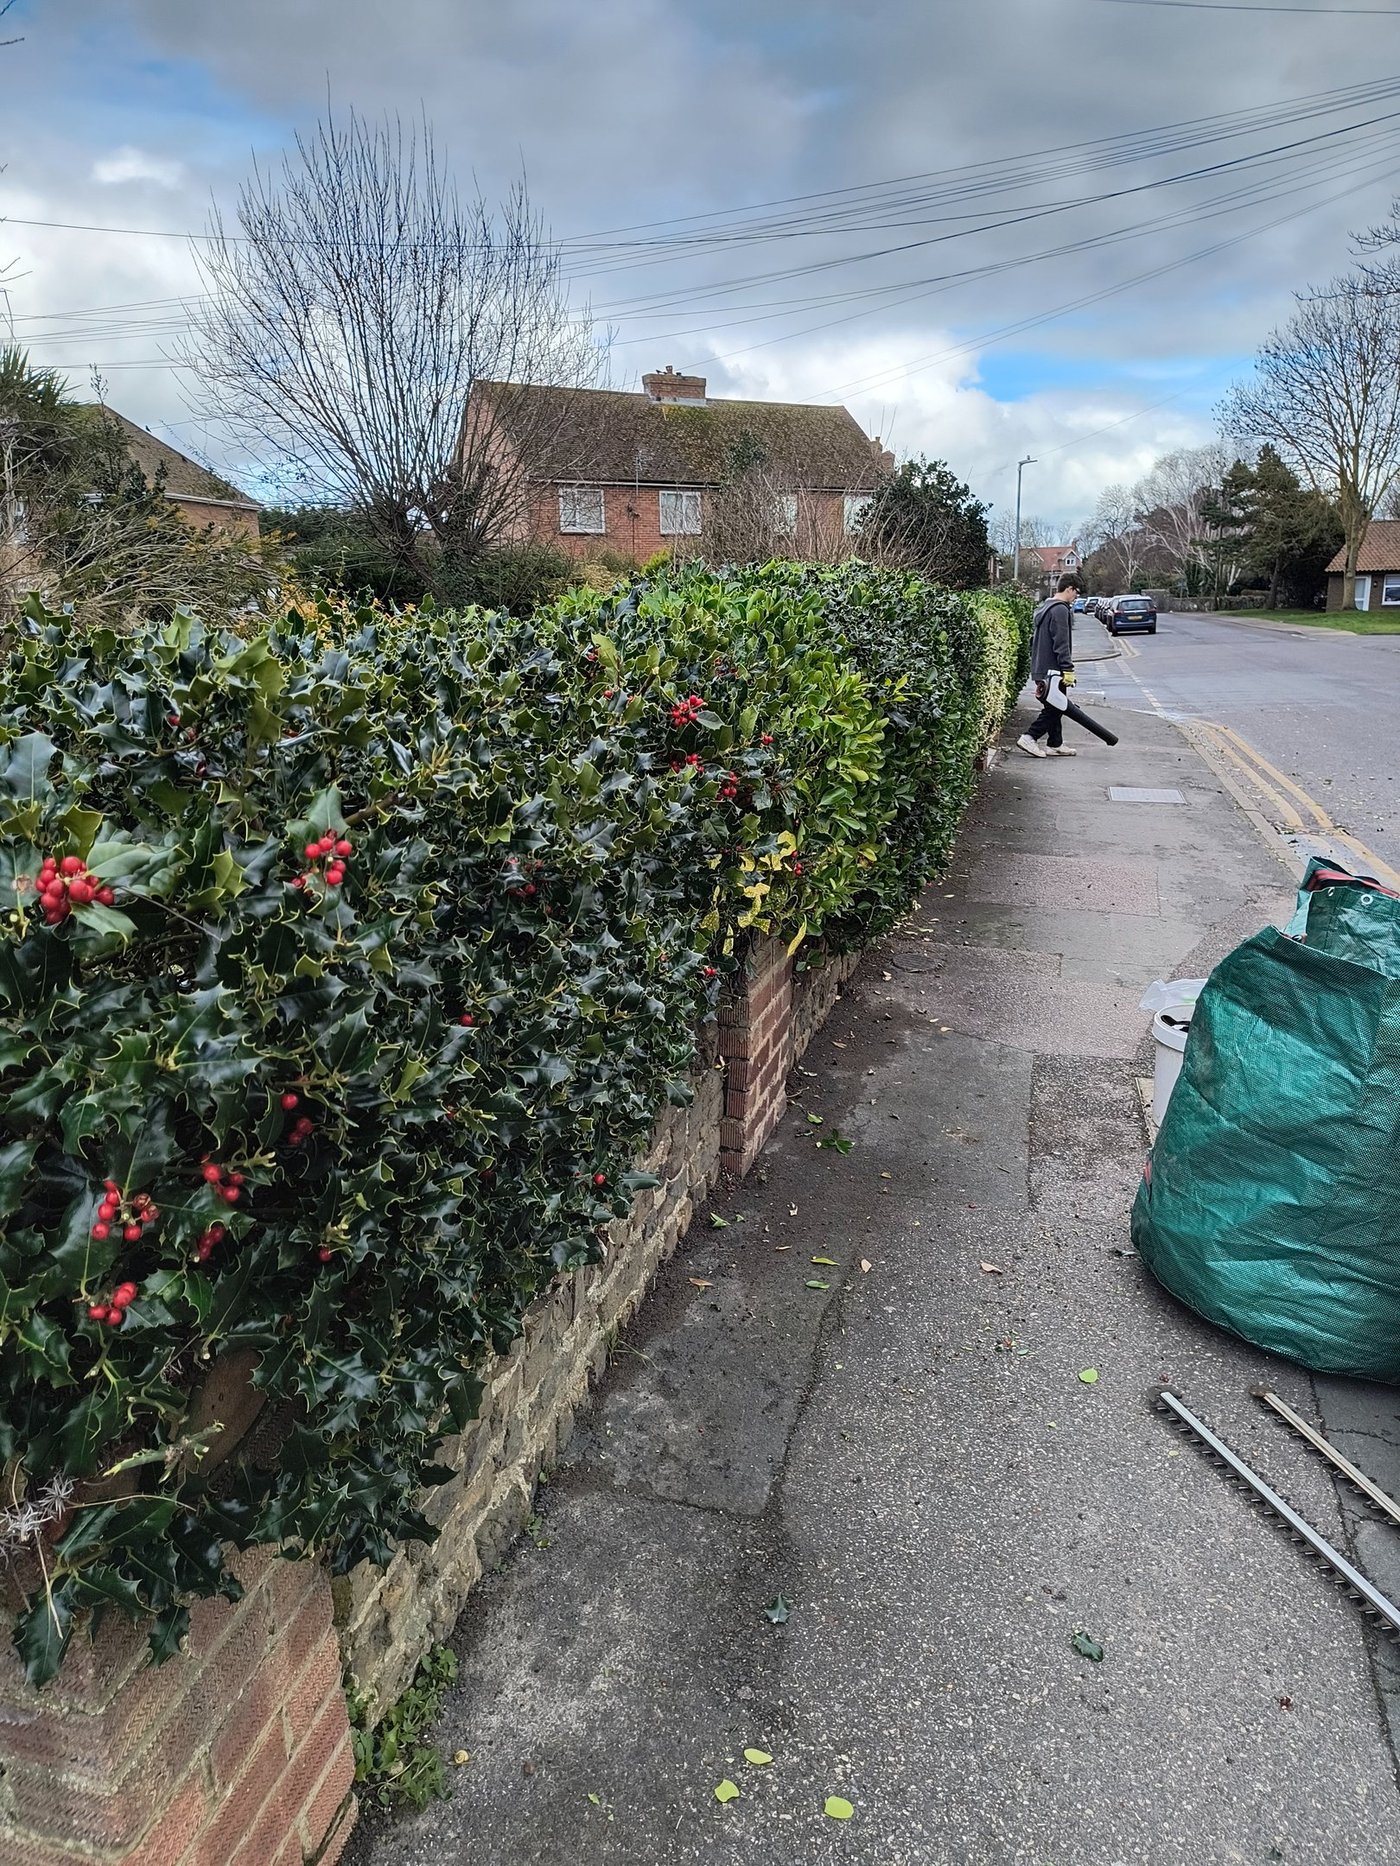
Pleached hedges keep appearing in East Kent gardens, and it is easy to see why. They give you real privacy at eye level and above without blocking the light the way a solid fence or a traditional hedge does. Below the clear trunk section, you can see the garden, put in planting, park a car, or just walk around without feeling hemmed in.
The idea is simple: a row of trees trained with a single clear stem from the ground up to about 1.8 or 2 metres, then a flat panel of branching canopy tied on a framework of canes or wires above that. The result reads as a screen, not a wall. We see a lot of them going in around Sandwich, Deal, Ash and Woodnesborough as people look for something more architectural than a standard privet or laurel hedge.
Step 1: Choose the right species
Species choice drives everything else, including how much work the hedge will ask of you year on year.
Hornbeam (Carpinus betulus)
The most popular choice for pleaching in East Kent. Hornbeam handles the heavy clay soils common around Worth, Ash and Woodnesborough without complaint, establishes well in our coastal climate, and has the great advantage of retaining its dried, coppery leaves all winter when kept clipped as a hedge. That means year-round screening, not just in the growing season. It trains readily, responds well to annual cutting, and is hardy enough to cope with the occasional sharp frost Kent does get.
Beech (Fagus sylvatica)
A close second, and the better choice on the lighter, chalk-based soils you find around Sandwich town and out towards Sandwich Bay. Like hornbeam, clipped beech holds its leaves through winter. Slightly slower to establish than hornbeam, but arguably gives the more refined finish when mature, with smooth grey bark on the trunk section and clean, flat panels above.
Cherry laurel (Prunus laurocerasus)
The evergreen option. Laurel holds its glossy dark leaves all year, so the screen is denser in winter than either hornbeam or beech. It grows faster, which is an advantage if you want results quickly, and a management commitment if you do not want to be up there with the loppers twice a year. Use secateurs or loppers to trim rather than shears to avoid the shredded-leaf look.
Lime (Tilia cordata or T. platyphyllos)
Grows quickly and produces fragrant, bee-loved flowers in midsummer. The lime aphid is a noted pest: the sticky honeydew it produces falls on anything parked below. Fine for a hedge over a lawn or planting, less so over a car. It requires more regular tying in than hornbeam or beech as it puts on growth in bursts.
Step 2: Set up the framework
The framework carries the trained canopy between the tree trunks. Get this right and the rest follows naturally. Do it poorly and you spend years fighting a hedge that wants to grow in every direction.
Drive two stout timber posts at each end of the row, plus intermediate posts every 2 to 3 metres. Run horizontal wires or bamboo canes at 30 to 40 cm intervals between them, starting at the height you want the bottom of the panel (usually around 1.8 to 2 m) and working up. Use galvanised wire if you are making something permanent; thick bamboo canes work well on a temporary or less formal installation. The wires should be tight enough to support the weight of branches without sagging.
Step 3: Plant the trees
Space trees 1 to 1.2 metres apart in the row. Bare-root hornbeam and beech planted in winter, between November and March, establish faster and more cheaply than container-grown stock. Cherry laurel can go in any time but again does best in autumn and early spring in East Kent when the soil holds moisture.
At planting, remove all side shoots from the trunk up to the first horizontal wire level. Tie the main leading stem loosely to a vertical cane. This is the trunk that will eventually stand clear and become one of the architectural features of the hedge.
Step 4: Build the canopy panel, year by year
In the first growing season, let the tree grow. In the winter of year one, or early spring of year two, tie the strongest lateral branches horizontally on to the wires on either side. This is the beginning of the flat panel. Cut back any shoots that are growing outward (towards you or away from you) rather than sideways, to two or three buds.
In subsequent years, continue training the leading shoot upward to add height, and tying horizontal laterals to fill out the panel. Cut back unwanted side growth. Within three to five years you have a recognisable pleached screen: trunk visible below, dense flat panel above.
Nesting season: 1 March to 31 August
Pleached trees, especially hornbeam and laurel, are prime nesting habitat. The dense, trained canopy makes an ideal nest site for blackbirds, robins and sparrows. Under the Wildlife and Countryside Act 1981, it is an offence to damage or destroy an active bird's nest. Do not prune, tie in or disturb the canopy between 1 March and 31 August unless you have first checked carefully and found no active nests. The safe working window for most annual maintenance is September to February.
Step 5: Annual maintenance
A well-established pleached hedge needs one main cut a year, plus tying in of new growth during the growing season.
Late August to September
The main annual cut. Trim the flat faces of the panel to the framework line, and cut back any growth that has pushed outward from the panel face. For hornbeam and beech, trim the top of the panel at the same time. The hedge will have one last flush of growth before the autumn which softens the cut edges before winter.
Throughout the growing season (April to August)
Tie in long, flexible new shoots as they appear, working them along the horizontal wires or canes. This is the job that keeps a pleached hedge looking flat rather than bushy: done regularly it takes very little time; left until autumn you will find thick woody stems that will not bend without breaking.
Winter (November to February)
A good time to check the framework for broken wires or loose canes and repair them. Deciduous species (hornbeam, beech) will be bare or holding their dead winter leaves, making it easy to see the structure and the quality of the training.
Before you start: safety
Before you start
- Working at height: pleached hedges mean working above head height. A stable platform or podium ladder is far safer than a standard leaning ladder for cutting and tying work. Never overreach sideways on a ladder; reposition it. If the hedge is tall, have someone on the ground to steady the ladder.
- Long-reach tools: a pole-mounted hedge trimmer or long-handled loppers reduce the number of ladder moves needed and are safer than stretching with a short tool from height. See our long-reach trimmer guide.
- Electric trimmers: run the cable over your shoulder and away from the cutting line. Use an RCD (residual current device) on the socket. Never cut wet foliage.
- PPE: safety glasses for flying twigs, gloves for tying work and sharp lateral shoots, sturdy footwear. Ear defenders if using a petrol trimmer.
- Check for wasp nests before starting any August or September cut. Wasps frequently nest in dense trained canopies.
Species-specific timing quick reference
| Species | Main cut | Tie-in period | Winter appearance |
|---|---|---|---|
| Hornbeam | Late August | April to August | Coppery-brown leaves retained |
| Beech | Late August | April to August | Tawny-gold leaves retained |
| Cherry laurel | After last frost, April onwards; second cut late August | April to August | Glossy green, fully evergreen |
| Lime | Late August | Frequent: May to August | Bare deciduous branches |
Pleached hedges in the East Kent climate
East Kent's relatively mild coastal winters are broadly kind to pleached hedges: we rarely get sustained frosts hard enough to cause die-back on well-established hornbeam or beech. The persistent coastal wind from the south-west and north-east can be an issue on exposed sites around Sandwich Bay and the Deal seafront, particularly for the evergreen laurel. In exposed positions, consider an open-timber or close-board fence windbreak behind the pleached row while it establishes, removed once the framework is solid.
The clay soils around Ash, Worth and Woodnesborough hold moisture well, which suits hornbeam particularly. On the free-draining soils around Sandwich and Eastry, water young trees through their first summer or two until the root system is established.
Video: "How to Create a Hedge on Stilts! (Pleached Hedge)" by Pots & Trowels. Pots & Trowels is a UK gardening channel presented by Martin Fish, an RHS judge and broadcaster with over 40 years of horticultural experience. Watch on YouTube.
Rather we just did it?
We work on pleached hornbeam and beech across Sandwich, Deal, Worth, Ash, Woodnesborough, Eastry and Sandwich Bay. Whether it is an initial setup or years of annual maintenance, send a photo for a free quote.
Related guides
Hornbeam hedge care in Kent
Full guide to growing and trimming hornbeam, the preferred pleaching species for clay soils in East Kent.
Read the guide DIYTopiary and formal hedge shaping
Hand shears or electric trimmer? The best plants for formal shapes in Kent, and when to clip each one.
Read the guide