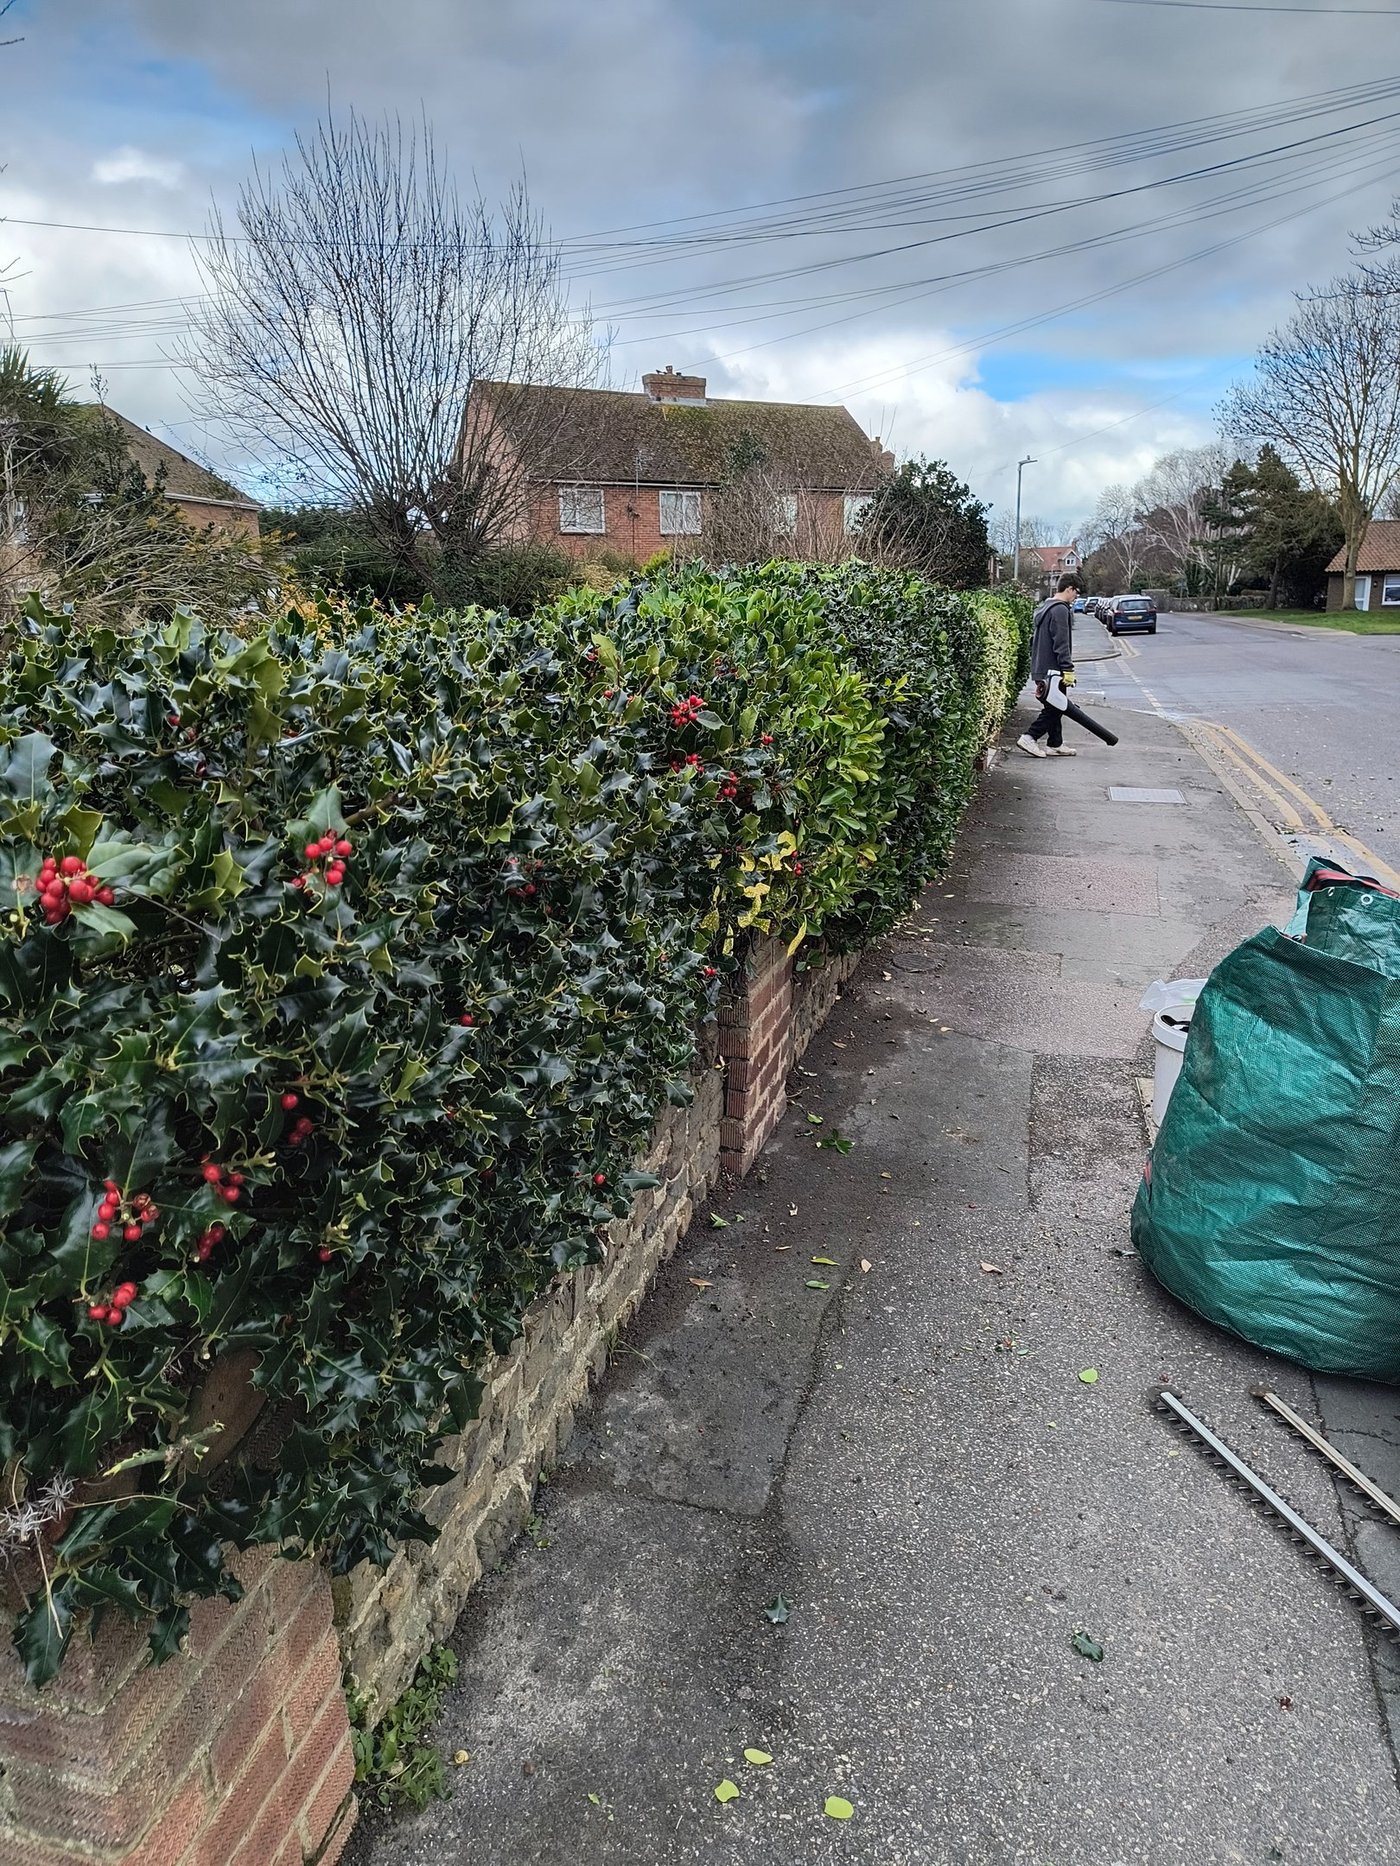
Tall conifer hedges are one of the more common jobs we deal with across Sandwich, Deal, Woodnesborough, Ash, Worth and Eastry. They grow fast, they provide excellent screening and wind protection, and they look good when they are kept in proportion. The trouble is that they do not slow down once they reach a useful height, and they cannot safely be cut back to a lower level the way a beech or privet hedge can.
Lee Burkhill of Garden Ninja, BBC Garden Rescue presenter and RHS professional, covers this exact situation in his short video "When a conifer hedge trim turns into a height reduction!" (youtube.com/shorts/yBVn0F4bfEY). The core message is the same as everything experienced hedge workers know: conifers are unforgiving of cutting into brown wood. This guide takes you through the full process step by step.
Check for nesting birds before you start
The UK Wildlife and Countryside Act 1981 makes it an offence to damage or destroy an active bird's nest. Conifers are popular nesting sites for many species including sparrows, chaffinches, goldcrests and robins. Nesting season runs broadly from 1 March to 31 August. Check carefully for active nests before cutting. If you find one, that section must be left undisturbed until the young have fledged. See our guide on wildlife-friendly hedge trimming.
Why conifers are different: the brown-wood rule
Broadleaved hedges such as beech, hornbeam, privet and laurel can, in most cases, be cut back hard into old wood. Dormant buds sit along the whole length of old stems and will break into growth when the top growth is removed. Conifers are fundamentally different.
Most of the conifers used for hedging in the UK: leylandii (× Cuprocyparis leylandii), Lawson cypress (Chamaecyparis lawsoniana), western red cedar (Thuja plicata) and Italian cypress, only produce new growth from stems that carry living green foliage. The brown interior wood of a conifer hedge contains no dormant buds capable of re-sprouting. Cut into it and the exposed area stays brown and bare permanently.
The exception is yew (Taxus baccata), which can regenerate from very old wood. Yew hedges can be cut back hard and will recover over several seasons. This guide does not apply to yew; see our guide to yew hedge care for a different approach.
Step 1: Assess how much green zone you have to work with
Before you pick up any tool, look at the hedge from the side. The green zone is the outer layer of live foliage. The brown zone is the inner core of dead or dormant brown wood. On a well-maintained conifer hedge the green zone may extend 20-40cm inward from the surface. On a neglected or very old hedge it may be only 10cm or less on the sides, and potentially just a cap of green on the very top.
The safe rule is: never cut into the brown zone. You need to end each cut within the green layer, where there is still living foliage on the stems below the cut. If the target height you want to reach would require cutting into brown wood, the only way to reach it safely is a multi-season gradual reduction, described in step 4.
Step 2: Decide on sides first, height second
Start with the sides. Reducing the sides before addressing the height serves two purposes: it improves light penetration into the canopy, which encourages interior foliage to green up and thicken, and it gives you a clearer view of where the green zone ends on the top of the hedge.
When reducing the sides, work from the bottom of the hedge upward, angling the face of the hedge slightly inward at the top (a slight taper or batter shape). This allows light to reach the lower branches and helps maintain foliage coverage down the full height of the hedge. A hedge that is trimmed with vertical sides tends to lose its lower foliage over time as the canopy shades it out.
The same brown-wood rule applies to the sides. Stay within the green zone. If the hedge has grown out significantly and the sides have a thick zone of brown interior wood, reduce in stages over two or three seasons rather than trying to reach the target width in one cut.
Step 3: Safety before you climb
Before you start cutting
- Wear eye protection and gloves at all times when using a hedge trimmer or saw. Conifer debris is sharp and resinous.
- Never use a petrol or electric hedge trimmer from a ladder without a second person footing the ladder. For tall hedges above 2m, a scaffolding tower or hired access platform is considerably safer than a ladder.
- If using a corded electric hedge trimmer, fit an RCD adaptor before connecting to the mains and keep the cable behind you and away from the blade line at all times.
- Check for wasp nests in the base of the hedge and in any hollow sections before starting work.
- On tall hedges, consider whether this is a job for a professional. The risk of a serious fall increases significantly on hedge work above 3m. See our guide on using a long-reach hedge trimmer for safer alternatives to ladder work.
Step 4: Reducing the height in stages
This is the critical step and the one where most DIY attempts go wrong.
The safe limit for a single season's height reduction is roughly 30-50cm. Removing more than this in one cut risks exposing a large area of brown wood at the top of the hedge that will never green over. For a hedge that needs to come down by a metre or more, plan a programme across two or three growing seasons.
The best time of year to cut is from late May through to late August. Cutting during the active growing season means fresh foliage begins to cover the cut tops quickly, reducing the visual impact of the bare cut line. Avoid cutting in autumn or winter: the exposed top goes into the dormant season with no new growth to cover it, and it looks poor for six months or more.
Work through the reduction like this:
- Year one: Reduce the height by 30-50cm, cutting just into the very top of the green foliage zone. The cut top will look raw immediately after cutting but should begin to push fresh growth within four to six weeks during the growing season.
- Allow a full growing season: Let the hedge produce new growth from the cut tops before reducing further. This is important: the new growth thickens the green zone at the top, giving you more material to work into on the next reduction.
- Year two: Reduce by a further 30-50cm, again cutting into the now-thickened green zone at the top rather than bare brown wood.
- Continue until target height is reached: Repeat for a third season if necessary. This patient approach is the only reliable way to achieve a significant height reduction on most conifers without leaving a permanently bare top.
Step 5: After cutting, what to expect
Immediately after cutting the top back, the hedge will show a clear cut line and some degree of browning where stems have been cut through. This is normal. Over the following weeks (in the growing season), new lateral growth pushes out from below the cut and gradually covers the bare area. By the following spring, a well-managed reduction cut should be largely invisible.
If some sections of the top show stubborn bare patches that are not greening up after several weeks, it is likely that those cuts were too deep into the brown zone. There is no remedy for this other than leaving the hedge to grow back up past the brown area, which takes time, or planting a companion screen in front of that section.
When to call a professional
Several situations make DIY height reduction inadvisable:
- Height above 3m: Safe ladder work on tall hedges requires a second person, ideally scaffolding access equipment, and experience working at height. Above 3m, the risk of a serious fall becomes significant, particularly when handling a hedge trimmer.
- Leylandii over 5m or more: Very tall hedges often require a chainsaw for the top cuts, not a hedge trimmer. Chainsaw work at height is specialist work that carries a high risk if performed without proper training and equipment.
- Disputed boundaries: If the hedge grows on or near a boundary and there is any uncertainty about ownership or your neighbour's consent, sort this before cutting. See our guide to leylandii rules and the High Hedges Act.
- Hedge in poor condition: If the hedge already has significant bare patches, brown zones extending to the surface, or signs of disease, an assessment before cutting is worthwhile. Cutting a stressed hedge can accelerate decline.
We carry out conifer height reductions across Sandwich, Deal, Ash, Worth, Woodnesborough and Eastry. Call 07763 100477 or send a photo for a free assessment.
The most common mistake is expecting a conifer hedge to bounce back the way a privet or laurel does. It won't. The gradual approach takes patience, but it is the only approach that leaves you with a hedge rather than a row of brown sticks.
Is your conifer hedge too tall but not yet a DIY job?
We work across Sandwich, Deal, Worth, Ash, Woodnesborough, Eastry and Sandwich Bay. A free assessment takes ten minutes and we can tell you exactly what the hedge needs and what it will cost. Get in touch.
Related guides
Trimming conifer hedges: timing and technique
Annual maintenance cuts for leylandii, Lawson cypress and Thuja: when to trim and how to keep the shape without cutting into brown.
Read the guide RestorationReducing an oversized hedge
Broadleaved and mixed hedges that have grown well beyond their intended size: renovation cuts, timing and realistic recovery expectations.
Read the guide