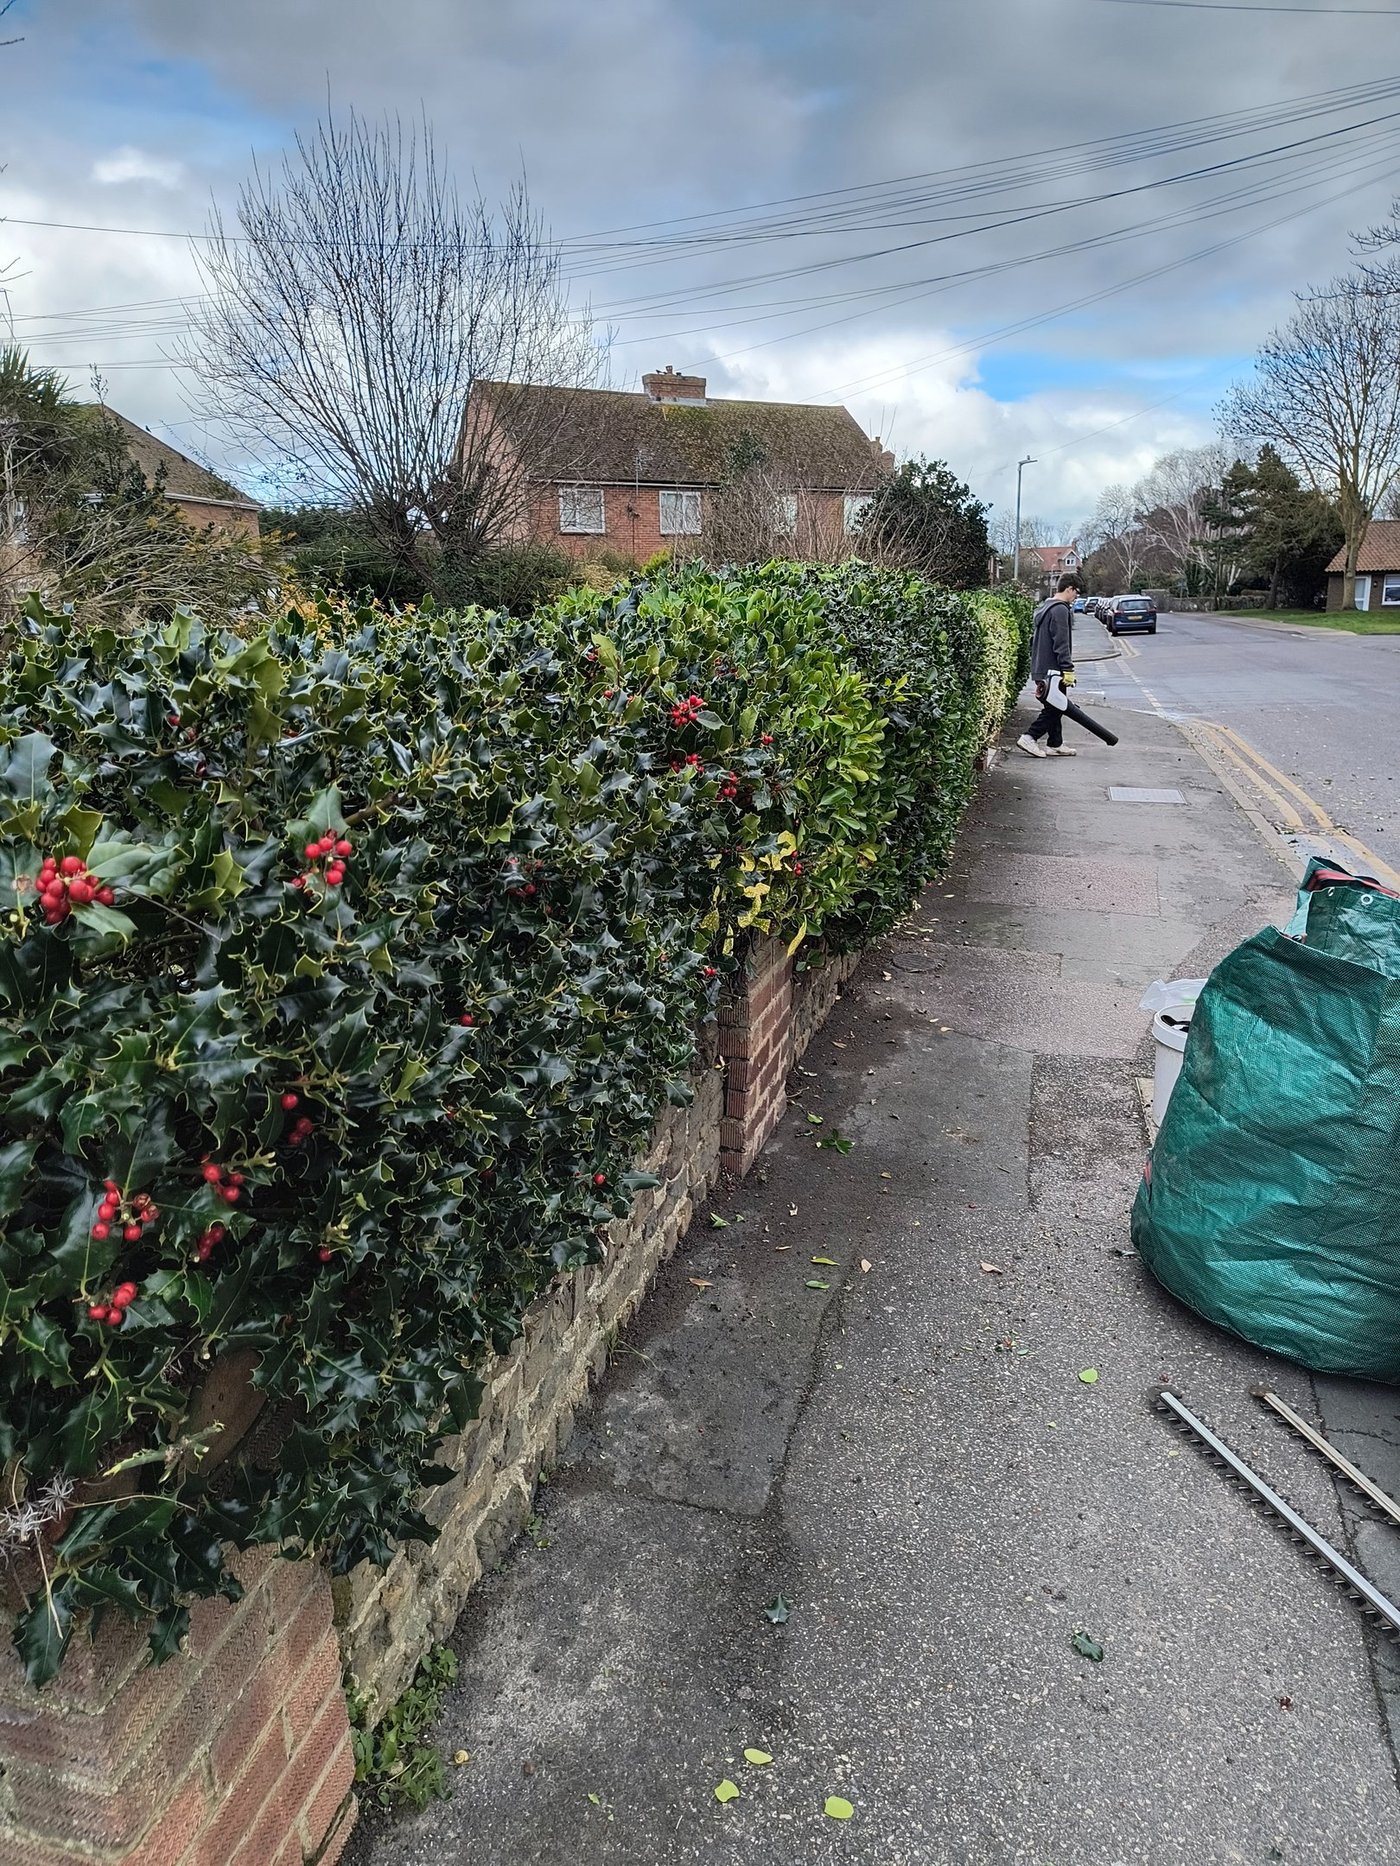
Martin Fish, RHS judge and broadcaster, covers the practical cutting-back process in his video "Hedge Cutting Explained and Demonstrated" (youtube.com/watch?v=pbLr1l7uNrs) via the Pots & Trowels channel. The cutting technique he demonstrates is exactly the same whether you are trimming or removing: get the material down safely before tackling the stumps.
Removing a hedge is more work than most people budget for, mainly because of the roots. But the job is very doable if you go through it in the right order. The steps below apply whether you have a 10-metre privet hedge in Sandwich, a leylandii run in Deal, or a laurel screen along a back garden boundary in Ash.
Check for nesting birds before you touch anything
The Wildlife and Countryside Act 1981 makes it an offence to intentionally damage or destroy a nest while it is in use or being built. The Act sets no calendar dates; 1 March to 31 August is the period generally treated as the main nesting season. If you find an active nest, work stops until the birds have fledged and left. The safe window for hedge removal is September to February. Even outside nesting season, always check the hedge from the base upwards before any cutting begins.
Before you start: the legal checks
Most garden hedges can be removed without any permission. But two situations require a check first.
Hedgerow regulations. A hedge in, or marking the boundary of, a private garden is not covered. If the hedge is a countryside hedgerow (for example on or next to agricultural land or common land) it may be protected under the Hedgerow Regulations 1997. You give your local planning authority written notice, and it has 42 days to respond. If it issues a retention notice, you cannot proceed. See our full guide on hedgerow regulations and removal for the assessment criteria and notification process.
Planning conditions. If your property was developed within the last 30 years, or is a listed building, there may be a planning condition that protects specific hedges. Check your planning portal or contact your local planning authority if you are unsure.
Safety before you cut
Basic PPE for hedge removal
- Eye protection (safety glasses or a visor): cuttings fly at speed, especially from power tools
- Ear defenders when using a petrol or mains-electric trimmer for any extended period
- Gloves: hawthorn, blackthorn, holly and pyracantha all draw blood
- Steel-toed boots: stumps and roots are trip hazards at every stage
- RCD adapter if using any mains-electric tools outdoors
- Check for wasp nests before power-cutting into any dense section of hedge, particularly in summer or early autumn
If the hedge is over 2 metres tall and you need a ladder or steps to reach the top, make sure someone else is present. A ladder on uneven ground next to a hedge is surprisingly unstable.
Step 1: cut the top right down
Start by cutting the hedge down to as low a height as your equipment allows, working from one end to the other. A petrol hedge trimmer or a reciprocating saw will handle most stems up to about 5 cm diameter. For older, thicker stems, a chainsaw or a bowsaw gives more control.
The goal at this stage is simply to reduce the material to a manageable height (roughly knee height) before you dig. Dragging full-height stems around while you are digging stumps makes the job much harder than it needs to be.
Clear the cut material as you go and stack it away from your working area. Hedge clippings are slippery underfoot, especially on wet ground.
Step 2: cut the sides flush to the ground
Once the height is down, work along each side to cut lateral branches flush or close to the main stems. This exposes the base clearly and makes the next stage, digging, much more accurate.
On a privet hedge in a Kent coastal garden, this stage often reveals just how far the roots have spread: privet planted in a single row can send lateral roots well out from the main stems, especially on light, free-draining soil.
Step 3: dig out the root stumps
This is the hardest part, and the right tool depends on the species.
Privet and box: a spade and a mattock are usually enough. Privet roots are relatively shallow (30 to 50 cm on typical Kent soils) and the root mass is manageable if you cut the main laterals with loppers or a pruning saw as you expose them. Work around each stump in a circle, severing the lateral roots as you find them, before levering the main stump out.
Laurel: the root ball on a mature laurel can be substantial. A spade and a crow bar, or a mattock, are the minimum. On chalky soil, the roots often follow the fissures and can reach well beyond what is visible at the surface.
Leylandii: leylandii stumps are usually straightforward once the tree is down. The root plate is often quite shallow. A mattock and spade work well. The stump itself can often be rocked free once the lateral roots are cut.
Beech and hawthorn: older established hedges with beech or hawthorn can have roots that are 20 or 30 years old. A mini-digger is worth hiring for a run over about 15 metres. Most tool-hire companies in the Sandwich and Deal area can deliver one the same week.
Step 4: treat stumps that regrow
Some species will resprout from cut stumps with considerable vigour. Privet, laurel and elder are the main ones to treat.
Apply a proprietary stump killer (containing triclopyr or glyphosate) to the cut face of the stump immediately after cutting, whilst the wood is still moist. For privet and laurel, this reduces regrowth significantly. Elder often regrows from root fragments as well as stumps, so you may need to monitor the area and re-treat emerging shoots over the following season.
Leylandii stumps very rarely regrow and generally need no treatment at all.
Step 5: dispose of the material
Hedge removal generates a large volume of material and planning disposal in advance saves significant effort.
- Green bin: suitable for lighter cuttings and small volumes. Many councils accept garden waste with limits on branch thickness and volume, so check your own council's rules first.
- Household waste recycling centre: a quick option for most people. Check Kent County Council's website for your nearest site, its opening hours and what it accepts.
- Skip hire: for larger jobs. A 6-yard skip handles a typical 15 to 20 metre run of privet or leylandii.
- Chip on site: renting a garden chipper turns a large pile into a compact heap of woodchip that can be used as mulch. This is the most efficient option if you have beds or borders that need mulching anyway.
Note: hedge material from species on the Schedule 9 list of the Wildlife and Countryside Act (including Japanese knotweed, though it rarely grows in hedges) must be disposed of as controlled waste. In practice, this is not relevant to most garden hedges in East Kent.
Step 6: prepare the ground
Once the stumps and major roots are out, the ground will be uneven and compacted where you have been working. Fork it over to break it up, remove any remaining root fragments (especially from privet and laurel, which can regrow from root pieces), and level it.
If you are replacing the hedge, autumn is the best time to plant bare-root whips. Native species like hawthorn, hornbeam and field maple establish quickly on Kent soils and are significantly cheaper per metre than pot-grown or root-balled stock. See our guide to planting bare-root hedges for spacing and species choices.
If you are laying a patio, path or turf, allow the ground to settle for at least a few weeks before any hard landscaping, particularly if there were large stumps that leave voids as they decompose.
The two things that catch people out: forgetting the legal check on longer rural hedges, and not budgeting enough time for the stump work. Everything else is just hard graft.
Would you rather keep the hedge?
We don't offer hedge removal or stump grinding. If the hedge is overgrown rather than finished, we reduce, reshape and renovate hedges across Sandwich, Deal, Worth, Ash, Woodnesborough, Eastry and Sandwich Bay. Send us a photo for a free quote.
Related guides
Hedgerow regulations and removal
When a rural hedge is legally protected, how to notify the council, and what happens if they object.
Read the guide PlantingHow to plant bare-root hedges
Spacing, species choices and the autumn planting window for replacing a removed hedge economically.
Read the guide