Most wonky hedges aren't a kit problem. They're a "cut to your eye instead of to a line" problem. Stop doing that and you'll be surprised how much sharper a DIY trim looks.
Kit list
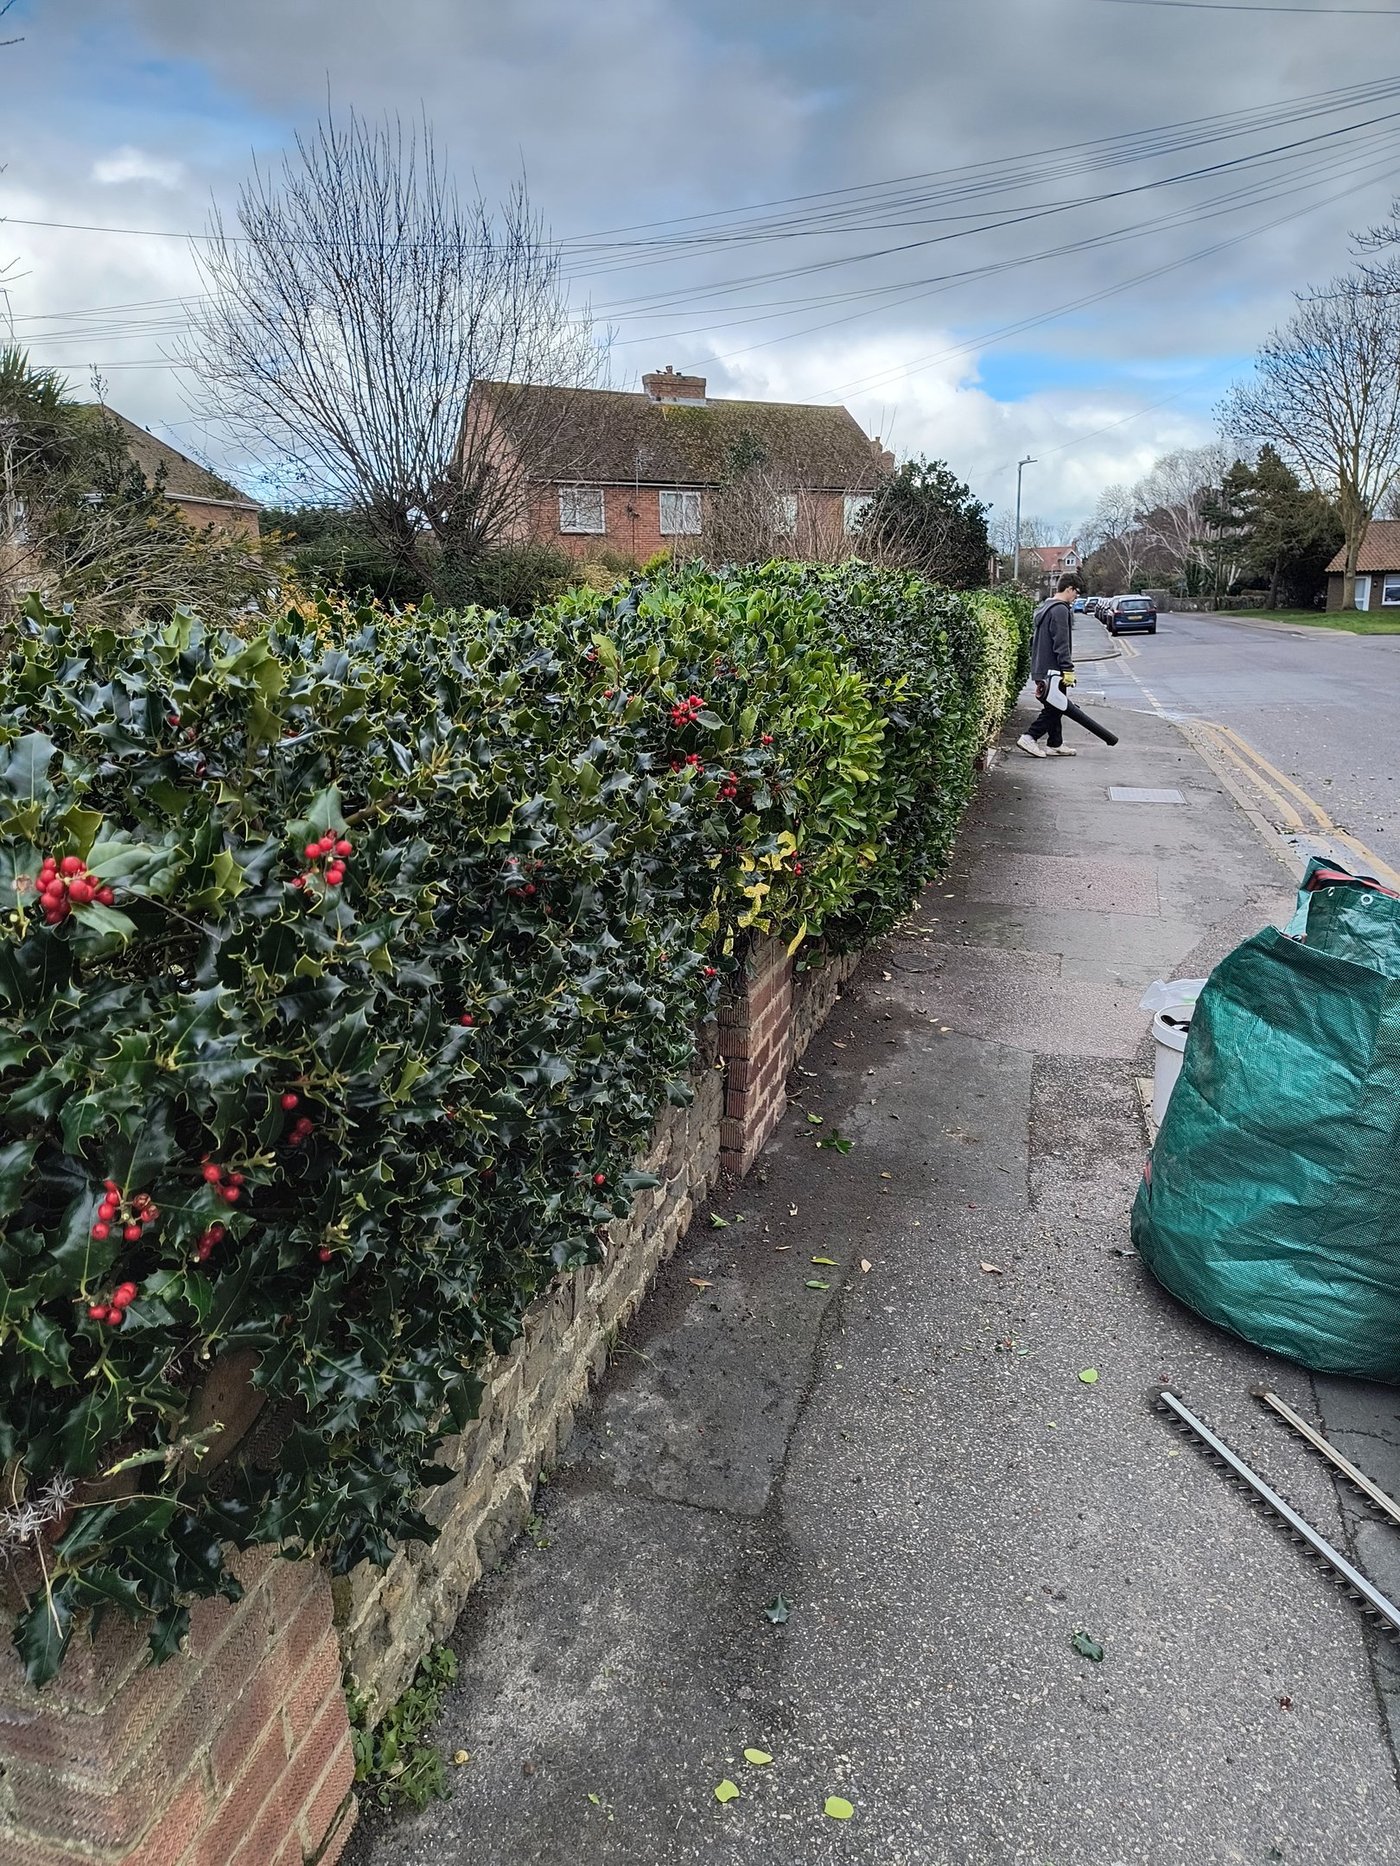
- A petrol or battery hedge trimmer (corded ones are fine if the extension reaches)
- A pair of canes and a ball of string
- A tarpaulin or old bed sheet
- A rake, plus a soft brush for hard surfaces
- Gloves, safety glasses, and ear defenders if it's petrol
Good kit helps but it's not the difference between good and bad. Technique is.
Step 1, Check for wildlife
Stand near the hedge for five minutes. Watch. Listen. If birds are flying in and out of the same spot, or you can hear cheeping, leave it. Our wildlife guide covers what to look for. Don't skip this, it's the law, not a suggestion.
Step 2, Lay down a sheet
This single thing saves you about 30 minutes of raking later. A cheap tarpaulin or an old bed sheet along the base catches every clipping. Roll it up when you're done and empty into the brown bin.
Step 3, Run a string line
Stick a cane in the ground at each end of the hedge. Tie a string between them at the height you want. Pull it tight. Cut to the string, not to the old hedge line. Your eye lies. String doesn't.
For the sides
If your hedge is long or wavy, run a second line along the front face, slightly inboard at the top. That gives you the taper line to cut against.
Step 4, Cut the top first
Hold the trimmer flat. Move it in a smooth sideways sweep, like you're sweeping the floor. Don't dig in at one point, skate along. If you feel the blade jam, let it clear before pushing. Cut just above the string until the whole length's level.
Step 5, Taper the sides
Sides go wider at the base than the top. About a 10-degree angle. Start at the base, sweep upward in smooth passes. The taper stops the top shading the bottom out, which is why most old hedges end up bare-legged.
Step 6, Clear, step back, check
Roll the sheet. Rake the edges. Then step back about ten metres and look. Any dips? Any bulges? Touch them up with a light second pass. Nine times out of ten, a hedge needs one tiny correction after the initial cut, the final 1% is what turns it from "mown" into "trimmed".
The common mistakes
- No string line. Will wobble, every time.
- Flat sides. Base will go bald in a few years.
- Cutting too deep. Little and often beats one big cut. If in doubt, take less.
- Doing leylandii at your eye-level. Cut too far in and it's brown forever. See the leylandii guide.
- Cutting in the rain. Wet clippings stick to everything. Including the blades.
String, sheet, sweep, taper, tidy. Five steps. It's not rocket science, but nobody ever told most of us those five things.
Tall ones and the bigger jobs
Anything above standing-height from a stepladder is where DIY starts to get dangerous. Happy to come and quote it instead, no pressure, no hard sell. Send a photo.