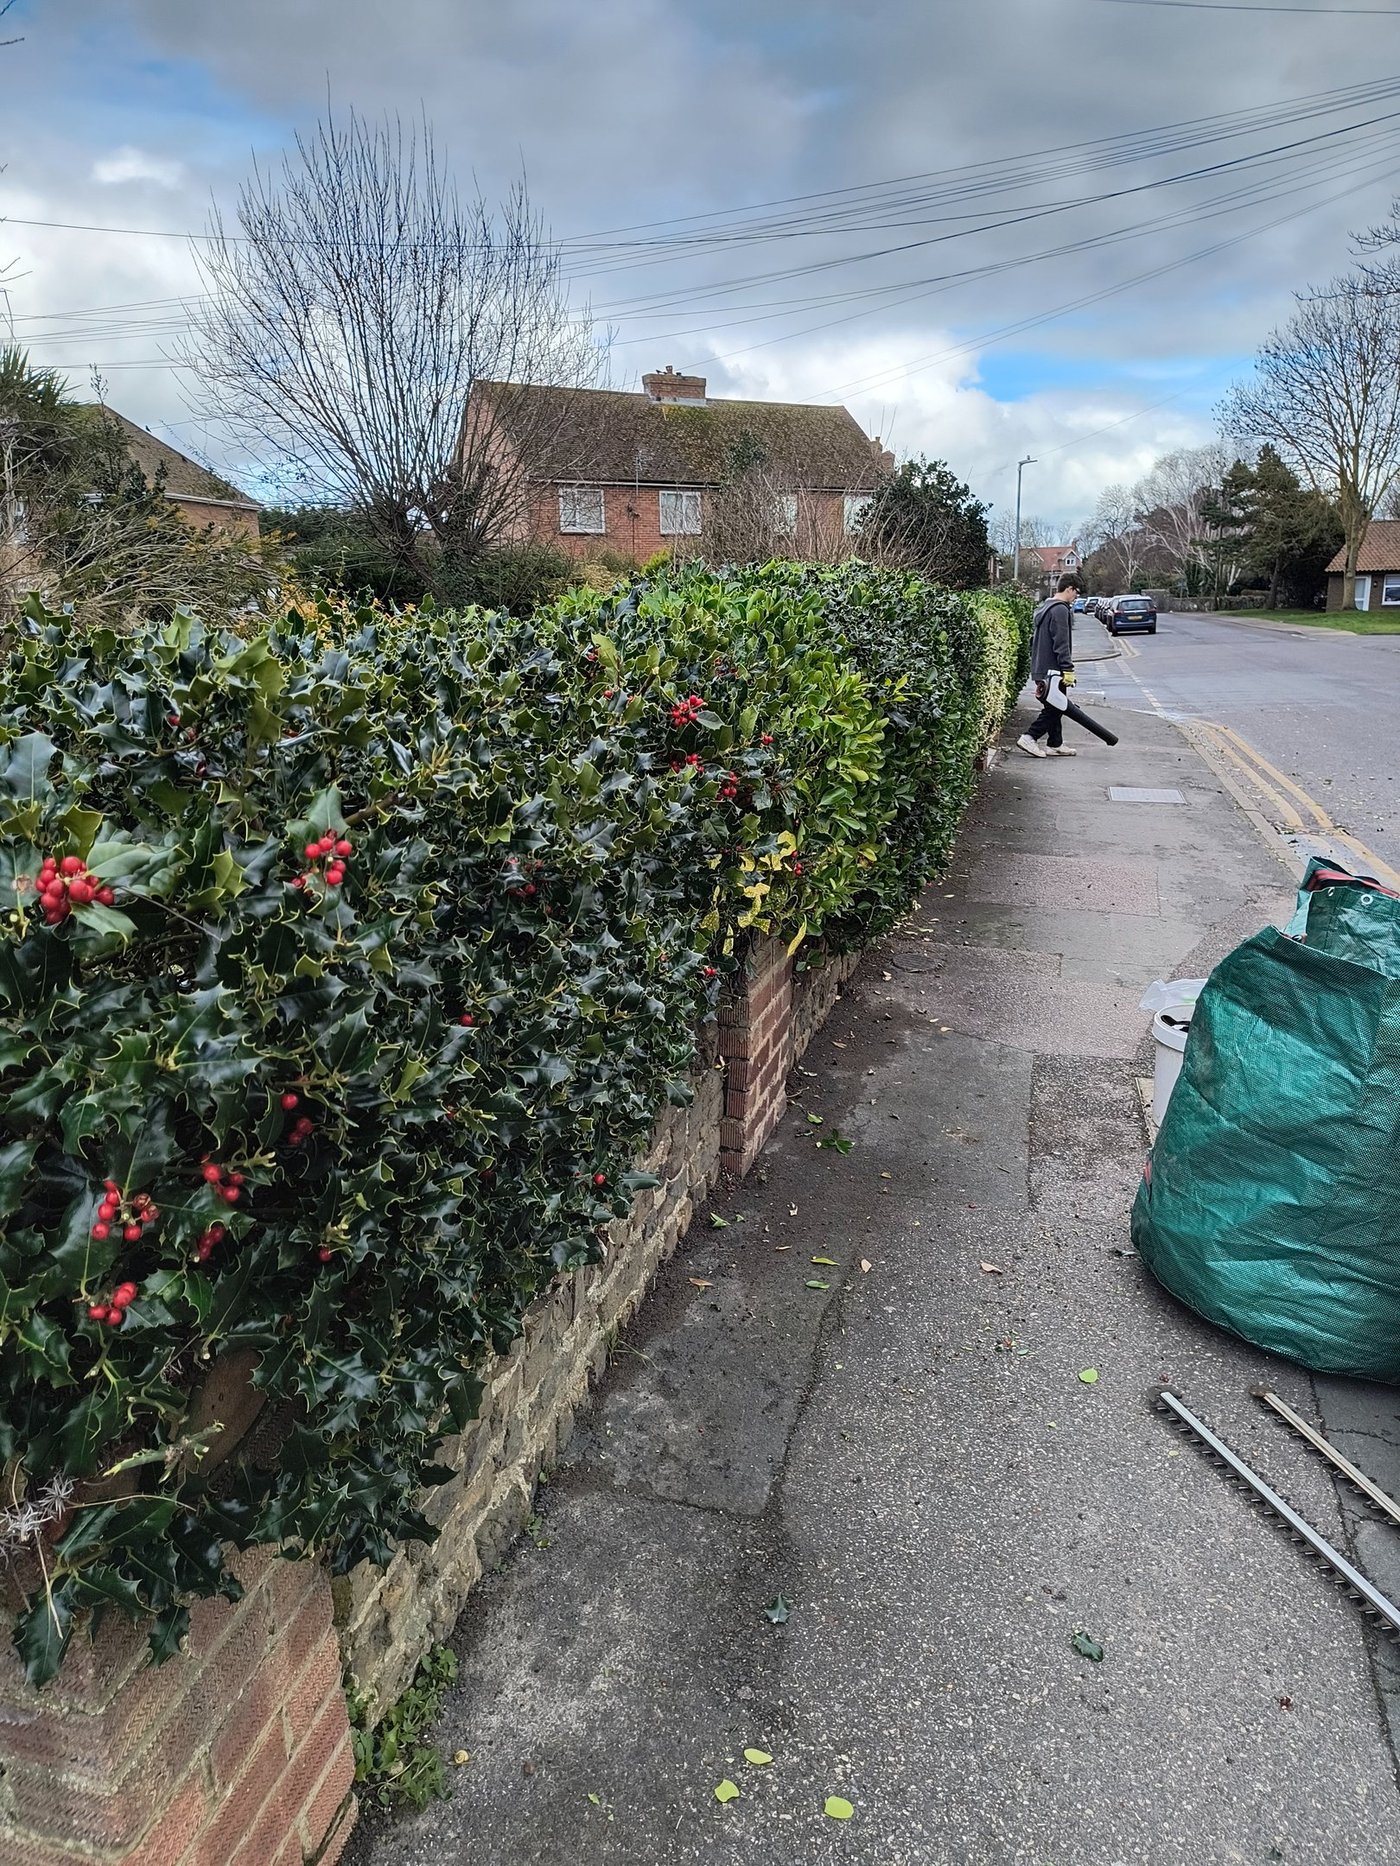
David Domoney, Chartered Horticulturist and BBC Love Your Garden presenter, covers the fundamentals of hedge trimming technique in his widely viewed YouTube guide (youtube.com/watch?v=HQ5JF-dwK-Q). What it illustrates well is that efficiency and quality are not in tension: a well-organised approach saves time and produces a better result than a disorganised one. The same principle holds whether you are trimming a 10-metre garden boundary in Deal or a 50-metre run through a Worth smallholding.
Nesting season and the law
The UK Wildlife and Countryside Act 1981 makes it an offence to damage or destroy an active bird's nest. The nesting season runs broadly from 1 March to 31 August. Wait until September before cutting any hedge where birds may be nesting. If you must cut between March and August, check carefully for active nests first. See our full guide on when to trim hedges.
Before you start
- Always use an RCD adaptor with corded electric trimmers. Cutting through the cable is a common accident and the RCD cuts power within 30 milliseconds.
- Wear safety glasses or goggles: debris flies from the cutting bar at speed, particularly from dry wood and dense privet.
- Wear sturdy gloves (not thin gardening gloves) and long sleeves. Use hearing protection for petrol trimmers.
- Check for wasp nests before starting. Late summer hedges in East Kent commonly contain active wasp nests, particularly in hawthorn and privet. Probe with a long cane first.
- Never use a petrol or battery trimmer on a ladder. Use a long-reach or pole trimmer for above-head work, or book a professional.
Tool choice: corded electric vs battery vs petrol
The right tool depends on the size of the hedge and your garden layout. Each type has genuine advantages and genuine limitations.
| Type | Best for | Limitations | Kent verdict |
|---|---|---|---|
| Corded electric | Gardens with a power source nearby; hedges up to 30 m; consistent power output | Cable management; RCD essential; limited reach from socket | Excellent value for most domestic gardens; the cable risk is overstated if you manage it correctly |
| Battery (18–36V) | Freedom of movement; hedges away from power; quiet operation | Battery run-time limits large jobs; power drops as battery discharges; higher cost | The best choice for most domestic gardens where cable management is inconvenient; buy two batteries for hedges over 20 m |
| Petrol | Long runs; professional use; thick, overgrown hedges | Noise; weight; maintenance; not suitable in quiet residential streets; fumes | Generally unnecessary for domestic gardens; relevant for farm hedges, large estates and overgrown renovation work |
For most East Kent garden hedges (10–40 metres of hawthorn, privet, laurel, beech or leylandii), a good quality 18V or 36V battery trimmer with a second battery is the most efficient choice. Corded electric is fine if you are comfortable managing the cable. See our hedge trimmer maintenance guide for blade care and blade-length selection.
Blade length: longer is not always faster
A longer blade covers more surface area per sweep but becomes unwieldy in corners, gates and narrow runs. A 50–55 cm blade is the most useful length for domestic gardens: it handles the majority of situations without the fatigue and lack of control that a 60–65 cm blade causes in smaller spaces. Professional trimmers often carry two machines: a long-blade for open runs and a short-blade for detail work. If you own one trimmer, 50 cm is the right compromise.
Pass order: the comparison that matters most
The order in which you cut the faces, sides and top of a hedge has a surprisingly large impact on how quickly the job gets done and how good the result looks. Three main approaches are in common use:
Option A: Top first, then sides
Cut the top of the hedge in one pass, then cut the sides. The logic is that debris from the top falls onto the uncut sides and is cleared by the side cut. This works well for box, yew and formal hedges where the top is the most critical line to get right while you are fresh.
Works well: formal hedges; hedges where the top line needs to be precisely level; situations where you are using a string line guide for the top.
Works less well: tall hedges where cutting the top first means the debris on the sides makes the side cut harder to read.
Option B: Sides first (bottom to top), then top
Cut both sides of the hedge from the base upwards, then cut the top last. The sides are cut when you are at ground level, which is safer and less tiring for tall hedges, and debris falls freely to the ground. The top is cut at the end when you can read the hedge's full width and make the top cut accordingly.
Works well: tall hedges; hawthorn, privet and informal hedges; any situation where debris management matters; hedges without a precise formal top line requirement.
Works less well: box and yew where top precision is the priority.
Option C: One continuous movement (side, top, side)
Start at the base of one side, cut upwards and over the top in a continuous arc, then down the other side. This is efficient for low hedges (under 1.2 m) but is difficult to control on taller hedges and typically produces a rounded top rather than a flat or square one.
Works well: low informal hedges; rounded-profile hedges by design; lavender, santolina and other dwarf hedging plants.
Works less well: any hedge where a flat top or sharp top corners are required.
Our recommendation for most domestic Kent hedges: Option B (sides first, bottom to top, then top). It is the safest, the most controllable and produces the fewest mistakes that need correcting. Our guide on how to trim a hedge straight covers the string-line setup that makes the top cut precise regardless of which pass order you use.
Single pass vs two-pass technique
A single pass covers the full depth of the hedge in one sweep. A two-pass approach makes a first pass that removes the bulk of the growth and a second, lighter pass that refines the face. The question is which approach is actually faster.
| Approach | Best for | When it is slower |
|---|---|---|
| Single pass | Lightly grown hedges; maintenance cuts where last year's cut is still visible; experienced operators | Heavy growth; tall hedges where you cannot see where you have been; any hedge where one mistake means starting a section again |
| Two-pass (rough then fine) | Hedges with heavy growth; first cuts after a long break; any hedge where finish quality matters; laurel and vigorous species where the first pass always leaves ragged cut leaves on the face | Rarely slower in practice; only adds meaningful time on very short or very lightly grown hedges where one pass would have been perfectly clean |
For most East Kent domestic hedges, cut once or twice a year with a growing season of three to six months between cuts, the two-pass technique is worth the extra five minutes. The rough pass removes the bulk quickly without worrying about the finish; the fine pass cleans up with a slow, careful sweep. The combined time is usually the same or less than a single-pass attempt that is then corrected in patches.
The most common time-wasting mistakes
These are the habits that make the same job take 90 minutes instead of 45:
- Stopping to clear debris mid-cut. Let debris fall and clear it all at the end. Stopping repeatedly to sweep makes the job take twice as long and interrupts your read of the line.
- Cutting in the same direction on both passes. If you make your first pass left to right, make your fine pass right to left. This catches material left standing in the opposite direction from the first pass.
- Moving too quickly. A slow, controlled sweep produces a flatter face than a fast one. On the fine pass, half-speed produces noticeably cleaner results.
- Starting without a reference line for the top. Even an experienced operator makes a wavy top cut without a line. Run a string line at the desired height before you start. It takes three minutes and saves fifteen.
- Using a blunt blade. A blunt blade tears rather than cuts, leaving a brown, bruised face. If the trimmer is pulling rather than cutting cleanly, the blade needs sharpening or replacing. See our trimmer maintenance guide.
- Not clearing the base before cutting the sides. Loose growth at the base of the hedge catches debris and makes it difficult to read how low the side cut should go. Pull or rake the base clear before starting.
Cutting a hedge for the first time: a note
If you are cutting a hedge for the first time, whether new to the task or new to a property, approach it differently from a maintenance cut. Your priority is understanding the hedge's existing profile and working out how much you can safely remove. Taking too much off in one pass is rarely correctable without waiting a full growing season. See our dedicated guide on first-time hedge trimming for the specific considerations, and our guide on common hedge cutting mistakes for the errors most likely to produce a result you regret.
When the hedge needs more than trimming
Efficiency in trimming only applies to hedges that are in a reasonable state to be trimmed. If the hedge has gone without cutting for three or more years, has hollowed centres, or has significantly outgrown its space, efficient trimming technique will not produce a good result: the hedge needs renovation work first. Our guide to overgrown hedge rescue explains what renovation involves and when it is worth doing.
The fastest cut is the one you do not have to redo. A string line and two passes takes twenty minutes longer than guessing and doing it once. But guessing takes thirty minutes of corrections after.
Want someone else to do the trimming?
We trim hedges across Sandwich, Deal, Worth, Ash, Woodnesborough, Eastry and Sandwich Bay. Most jobs are booked within the week. Get in touch for a free quote or to check availability for September to November trimming.
Related guides
First-time hedge trimming
What to check before you start: profile, thickness, species, and how much to take off when you do not know the hedge's history.
Read the guide DIYHow to trim a hedge straight
The string-line method that produces a flat top and plumb sides without relying on eye alone.
Read the guide