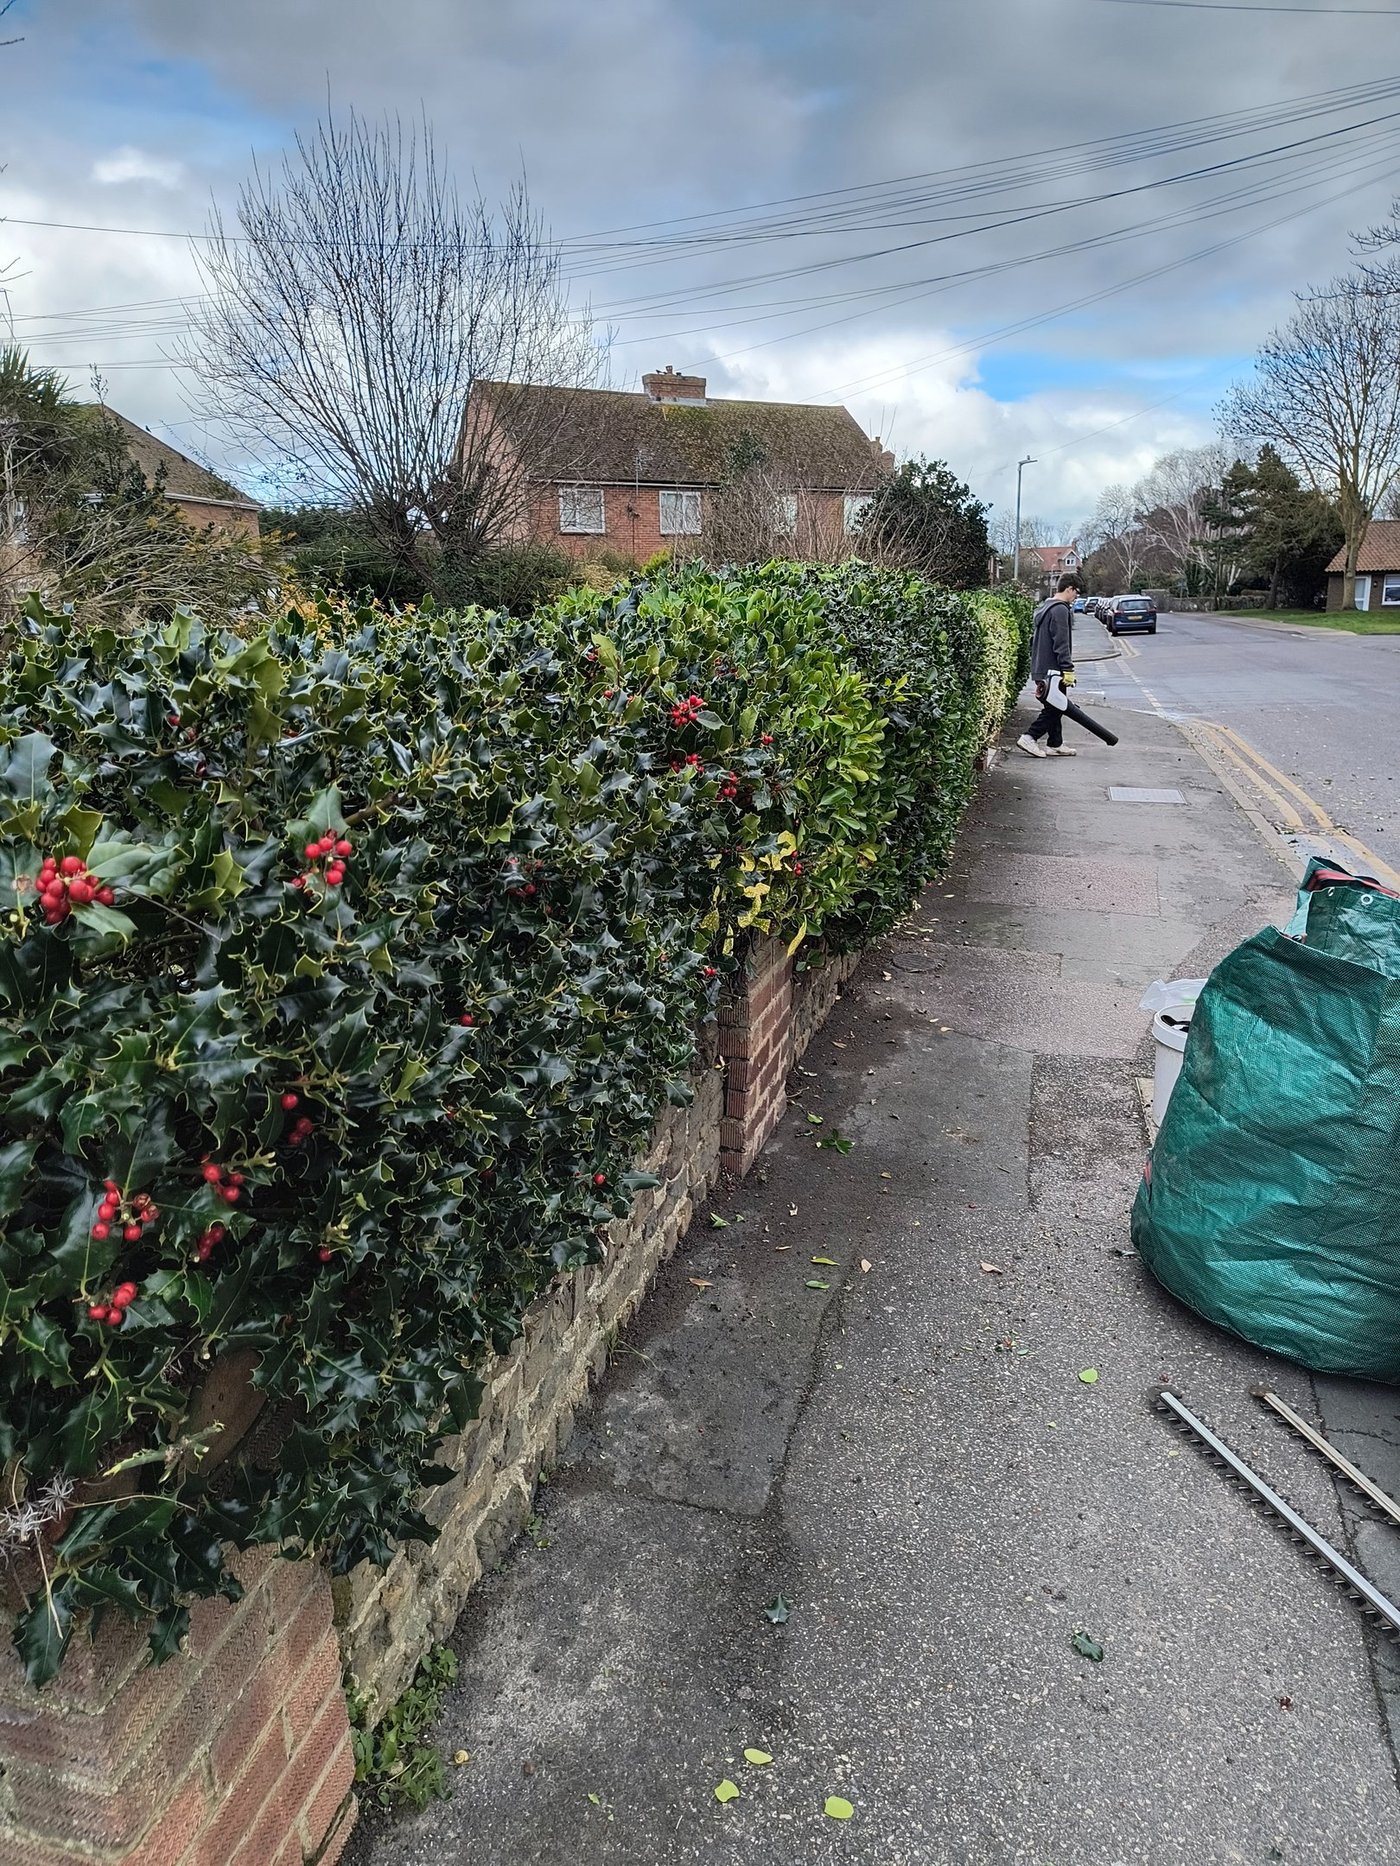
Cutting a window or peephole into a hedge is one of those garden jobs that looks far harder than it is, provided you're working with the right species and the right tools. The result can be a framed view of the garden beyond, a gap over a gate, or a decorative opening that lets light into a shaded path. We've done this on yew hedges in Sandwich, Deal and Worth where the gardens run back quite a distance, and the opening turns a solid wall into a proper feature.
The thing to get straight first is species. Some hedges will do this beautifully, regrow cleanly around the edges and keep their shape for years with one annual tidy. Others will give you a brown, ragged mess that never recovers. Get the species wrong and you're not just disappointed, you've done permanent damage.
Before you start: safety and the law
Nesting season (1 March to 31 August): cutting into the interior of a hedge during this period risks disturbing an active nest, which is an offence under the Wildlife and Countryside Act 1981. Even outside nesting season, check for late nesters from underneath before starting.
PPE: eye protection (debris flies at face height from the inside of the hedge), ear defenders if using a petrol trimmer, and sturdy leather gloves. If you need a ladder for a tall hedge, have someone footing it at all times and don't overreach.
Wasps: old hedge cavities are a prime location for wasp nests in late summer. Probe the area gently with a cane first. If there's wasp activity, leave it until October or later when the colony has died back.
Which species work
Yew: the first choice
Yew is the gold standard for this kind of work. It regrows reliably from old wood, holds a pin-sharp edge when cut with hand tools, and the dark green colour frames a view better than almost anything else. A yew window cut in September will have softened and re-greened at the edges by the following summer. The old yew hedges in the gardens along Strand Street in Sandwich, and around the churchyards at Ash and Woodnesborough, have been shaped and windowed for generations.
Hornbeam and beech: good second choices
Both respond well to cutting into established growth, though they're deciduous: the opening will look different in winter (bare, pale stems) versus summer (full leaf). Hornbeam holds its structure better through winter than beech. Both will regrow and fill back around the edges over two to three seasons.
Box: small openings only
Box can hold a very sharp edge for small windows, but it's slow-growing and best reserved for openings under about 40cm wide. Larger gaps in box tend to look unsupported. Also be aware of box blight; if your hedge has any sign of it, shaping work will spread it.
Species to avoid
Leylandii and other conifers: they will not regrow from old brown wood. Cut into the interior and the exposed area stays brown indefinitely. Any window cut into leylandii is permanent and dead-looking at the edges.
Laurel: cut edges turn brown within days and stay that way. Laurel can be cut with secateurs for informal shapes but it won't hold a clean architectural opening the way yew or hornbeam does.
Privet: it can be done, but privet grows fast enough that a window needs trimming every four to six weeks to stay sharp. Only worth it if you're already cutting the hedge that frequently.
Tools you'll need
- A cardboard template cut to your intended opening shape, or a length of garden wire shaped around it
- Chalk spray or garden marking paint to transfer the outline onto the hedge face
- A straight timber batten (about 1.2m long) as a guide for horizontal and vertical cuts
- Loppers or a reciprocating saw for the initial bulk removal from inside the hedge
- Sharp hand shears for finishing the face edges
- Secateurs for detail tidying around the perimeter
- A tarpaulin or sheet to catch cuttings (easier than picking yew clippings off a lawn)
Step by step
Step 1: check the hedge is ready
The hedge needs to be well-established, at least three years old and dense enough that a gap won't leave the surrounding growth looking thin and unsupported. A hedge that hasn't yet reached its full width and height won't recover cleanly from a cut into the interior.
Step 2: mark the opening
Cut a cardboard template to your intended shape. Rectangles and squares are easiest to keep neat year on year. Arches are achievable with a jig but need more work each annual trim. Hold the template against the hedge face and trace around it with chalk spray. Step back and look at the position from where you'll actually be viewing it, before you cut.
A common mistake is placing the window too high. It should sit at eye level for a seated viewer, or just below standing eye height if the view is from a path. Mark the corners with canes so you can see it from a distance.
Step 3: rough-cut the opening
From the front, use loppers to cut back a rough opening about 5cm inside your chalk line all the way round. You're just creating a void; don't try to be precise yet. A reciprocating saw is useful for thicker stems at the centre of an old yew hedge. Clear the cuttings as you go to keep your line of sight to the chalk marks.
Step 4: work back through the hedge
The interior of most established hedges has thin dead stems and a few thicker live branches. Work through the opening you've made from the front, removing everything inside the marked boundary back to a consistent depth, typically 20-30cm. This gives the window an actual sense of depth rather than just a shallow scratch in the face.
Step 5: finish the edges
This is the part that takes patience. Lay your timber batten along each horizontal and vertical edge in turn and cut against it with the hand shears. Take thin passes. The goal is a crisp, consistent reveal around the opening. Secateurs are better than shears for the curved parts of an arch shape. Step back every few minutes to check the line from a distance.
Step 6: tidy the reveal depth
Use loppers or secateurs to clean up the internal face of the opening so it presents a consistent colour. Cut back any obviously dead or pale stems flush with the living growth. The internal face won't be perfect, especially in the first year, but it will green up as the hedge regrows from the edges.
Step 7: annual maintenance
A yew window needs one careful tidy each year, typically in late August or September, at the same time as the main hedge cut. Hornbeam and beech windows need the same. You're just trimming the new growth back to the established opening line. If the opening gradually creeps larger each year, use your original cardboard template to check your lines before you cut.
Worth watching
The Gardening With Monty Don channel has a good demonstration of hedge shaping and cutting technique in their garden series, showing how careful marking and hand-tool work produces clean edges that a trimmer alone can't match. Monty Don has presented BBC Gardeners' World for over twenty years, and the channel reflects the same methodical approach.
Common mistakes
Cutting through to the other side
Unless you specifically want a through-view, you should stop well before the back face of the hedge. An opening that goes all the way through looks very different from one that reveals a shadowy internal depth. Decide in advance which effect you want.
Ignoring the weather
Don't work on box in wet weather (blight risk). Don't trim yew in hard frost. Both will affect how the cut edges heal in. Late August to October is the cleanest window for most of this work in Kent.
Making it too small
An opening under about 50cm wide looks like a mistake rather than a feature. Give it room. A metre-wide rectangular window in a yew hedge reads clearly as an intentional design element. Anything narrower needs to be notably taller to register properly.
Rather we just did it?
Hedge shaping and feature work is something we do regularly across Sandwich, Deal, Worth, Ash and the surrounding villages. Send a photo for a free quote, most jobs booked the same week.