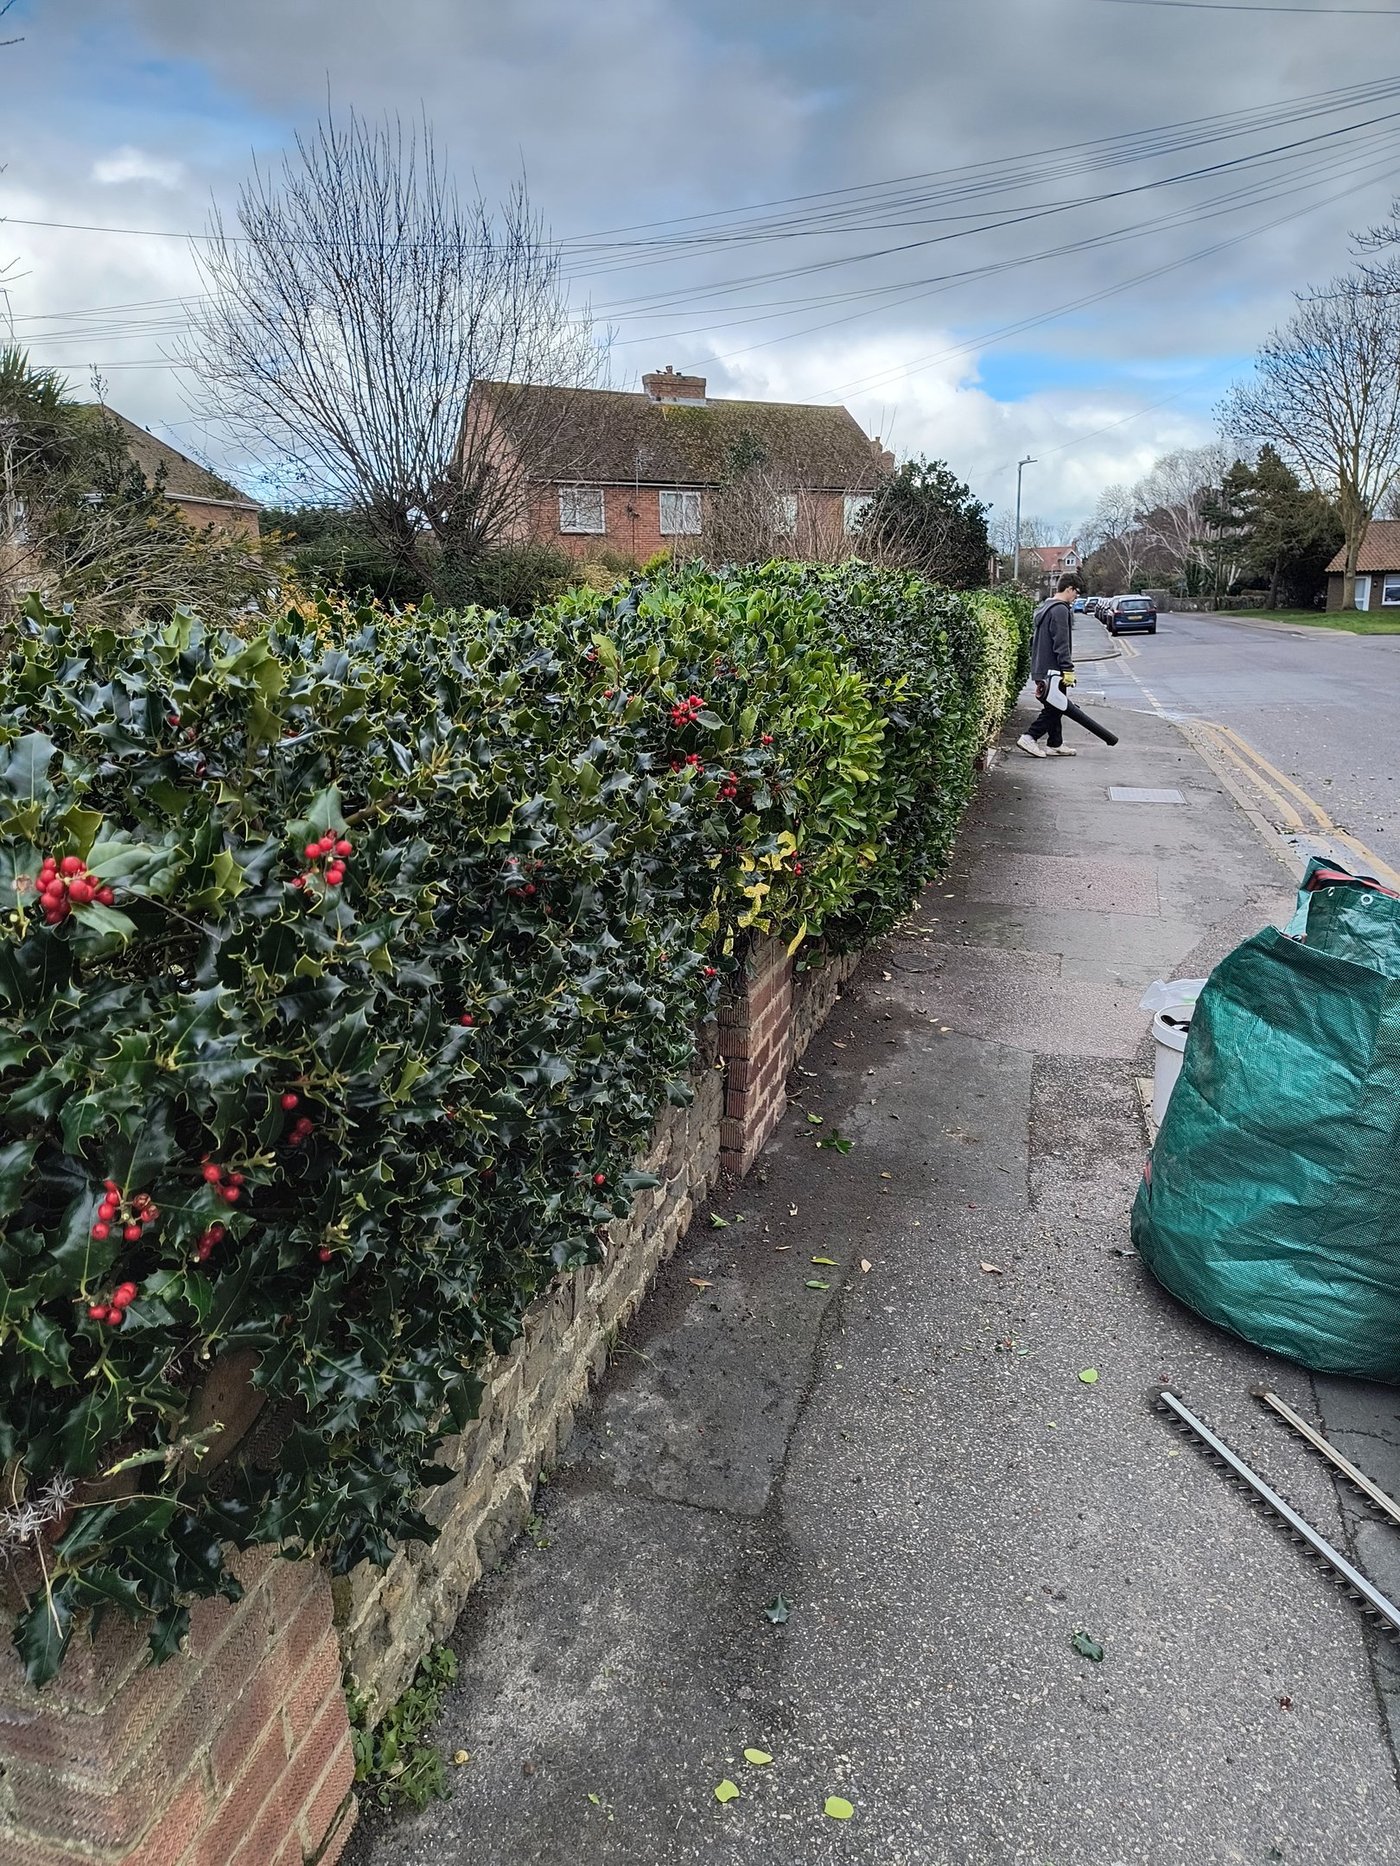
End-of-season tool care checklist
The best time to service hedge shears and secateurs is straight after the last cut of the season, before they go into winter storage. Here is the full routine:
- Clean blades: remove sap, plant debris and rust spots with a cloth dampened with white spirit or methylated spirits.
- Check blade alignment: ensure the blades cross cleanly and the pivot bolt is firm, not loose or overtight.
- Sharpen the bevel: use a diamond file or whetstone along the bevelled edge at roughly 20 to 25 degrees, working from base to tip in one direction.
- Remove the wire edge: one or two flat strokes of the file against the non-bevelled side removes the burr left by sharpening.
- Oil all metal surfaces: a thin film of camellia oil, 3-in-1 oil or linseed oil on blades and the pivot prevents rust through winter.
- Check and oil wooden handles: if handles are dry or cracked, a rub with raw linseed oil prevents splitting.
- Store dry and off the ground: hang tools in a dry shed or garage rather than leaving them standing in a damp corner.
If you do this once at the end of the season and again in early spring before the first cut, most hedge shears and secateurs will stay in good working order for many years.
Safety: handling sharp tools
Always wear cut-resistant gloves when handling or transporting hedge shears with the blades open. When sharpening, keep fingers clear of the blade edge and work with the file moving away from your body. Do not test sharpness by pressing your thumb directly against the blade: drag a fingernail lightly across the edge instead (a sharp blade catches immediately; a dull one slides off). Keep all cutting tools out of reach of children. When carrying shears on a job, close the blades and engage the blade-lock if fitted, or carry with blades pointing down and behind you.
How to tell when blades need sharpening
The clearest sign is the cut itself. A sharp blade severs a stem cleanly and almost silently. A dull blade crushes, bruises and then tears, leaving a frayed end rather than a flat cut face. On deciduous hedging plants this slows healing; on conifers and evergreens, a torn cut can discolour more visibly through the growing season.
Other signs to look for:
- You are gripping harder than usual to cut the same material.
- The blades are bouncing or juddering on impact rather than slicing through.
- Stems are bending and whipping rather than cutting.
- You can see nicks, flat spots or a shiny line along the edge under a raking light (a sharp edge reflects almost no light; a dull one reflects a clear bright line).
Do not wait until shears are noticeably blunt before sharpening. Keeping the edge maintained with a light touch-up each season is far easier than restoring a severely dulled blade, which may require a coarser file or a grinding wheel.
Sharpening hedge shears step by step
You will need: a medium-grit diamond file (or a whetstone, which works just as well), a cloth and some white spirit for cleaning, lightweight oil, and gloves.
1. Disassemble if possible. Hedge shears can usually be taken apart at the pivot bolt with a spanner. Working on each blade individually gives better control and allows you to clean and inspect each one. If the bolt is too stiff or the design does not allow disassembly, work with the shears closed and brace them securely against a workbench or hold them in a vice.
2. Clean the blades thoroughly. Dried sap in particular dulls blades and makes sharpening harder. Use white spirit on a cloth to remove all residue, then dry the blade. A wire brush on stubborn rust spots is fine; if corrosion is deep, a fine wire wool pad works well on flat surfaces.
3. Find the bevel angle. Hold the blade up to the light. The bevel is the angled face leading to the cutting edge, usually somewhere between 20 and 30 degrees from the flat side. You are not changing this angle, just maintaining it. Place the file against the existing bevel so it sits flush, and you have your angle.
4. File in one direction. Work the diamond file from the base to the tip in a smooth, consistent stroke, keeping the angle constant. Do not saw back and forth: push the file away from you along the blade on each stroke, then lift and return to the base. Apply light, even pressure. Ten to fifteen strokes is usually enough for a blade in reasonable condition; more if there are nicks to work through. You should see a fine burr forming on the flat side of the blade as you work: that is correct.
5. Remove the wire edge. Lay the file flat against the non-bevelled side of the blade and make one or two very light strokes. This removes the burr and leaves the edge clean. Do not file this side at an angle or you will create a second bevel, which will affect how the blades close against each other.
6. Reassemble and check the action. When you put the blades back together, the pivot bolt should be firm enough that the blades cannot twist or rock against each other, but loose enough that they spring open freely. A well-adjusted pair of shears opens and closes with a satisfying smooth action. If the action feels stiff, slacken the bolt very slightly; if the blades wobble, tighten it.
7. Oil and test. Apply a thin film of oil to the blades and wipe off the excess. Test on a small branch: the blades should slide past each other and cut cleanly. If there is any catching or binding, check that the blades are making full contact along their length as they close, and that the pivot adjustment is correct.
Video: "How to Sharpen Secateurs" by Garden Ninja (Lee Burkhill, BBC Garden Rescue presenter, RHS-qualified horticulturalist, 100k+ subscribers). The same technique, cleaning, filing the bevel, removing the wire edge and oiling, applies directly to hedge shears. Watch on YouTube.
Sharpening secateurs and loppers
Bypass secateurs have one bevelled blade (the cutting blade) and one flat counter-blade. Only the bevelled blade is sharpened. Disassemble first if you can: the central bolt usually unscrews. Clean and oil the spring and the pivot point while you have it apart. File the bevel exactly as described above. Reassemble with the spring correctly tensioned: too loose and the blades do not close properly; too tight and the action is exhausting over a long pruning session.
Anvil secateurs have a single sharp blade that presses down onto a flat anvil plate. Again, sharpen only the bevelled blade. The anvil itself can be cleaned and smoothed lightly with fine emery paper if it is pitted or rough.
Loppers follow the same principle as secateurs, just scaled up. The larger blades mean more filing strokes, and the heavier mechanism may need a drop of oil at the pivot and at any gear or ratchet mechanism if fitted.
Cleaning and storing tools between seasons
In East Kent, the main hedge-cutting season runs from late August through to October once the nesting season has closed. By November, most hedging work is done until the following spring. Tools that go away dirty and dry are the ones that come out rusted and blunt in March.
After every session: wipe blades with a dry cloth to remove sap and debris. After the last session of the year: full clean with white spirit, sharpen as above, oil all metal surfaces, and hang tools up in a dry place rather than standing them in a corner where moisture gathers. A simple hook on the shed wall costs nothing and keeps blades off damp concrete floors.
If you use powered hedge trimmers as well as hand tools, the blade maintenance principle is the same, using a specialist blade file for the serrated teeth, but powered tool blades also need checking for bent or missing teeth, and the gear mechanism and air filter deserve attention at the end of season too. Our hedge trimmer guide covers the powered tool options and their maintenance requirements in more detail.
Tools beyond sharpening?
If blades are cracked, deeply pitted or bent out of alignment, sharpening will not rescue them. For quality tools, replacement blades are often available separately and cost less than a new tool. For cheap tools, it may be more practical to replace entirely. If you are thinking about upgrading your kit, we are happy to chat about what professional-grade cutters look like, just give us a ring when we are next in your area.
Related guides
Choosing a hedge trimmer
Corded, cordless or petrol: how to match the trimmer to the hedge size, species and cutting frequency.
Read the guide DIYHow to trim a hedge straight
String lines, canes and the right technique for getting a crisp, level finish on formal hedges of any height.
Read the guide